
Create Timesheet
There are two ways of creating leave:
Create Timesheet By Employee:
Step 1:
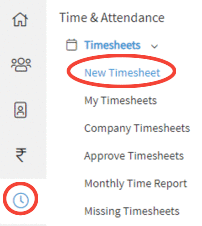
Go to Time & Attendance--> Timesheets--> New Timesheet
Step 2:
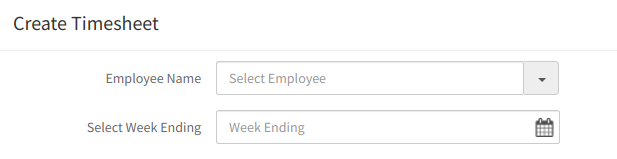
On clicking on the submenu "New Timesheet", Create Timesheet page will appear on the screen.
Step 3:
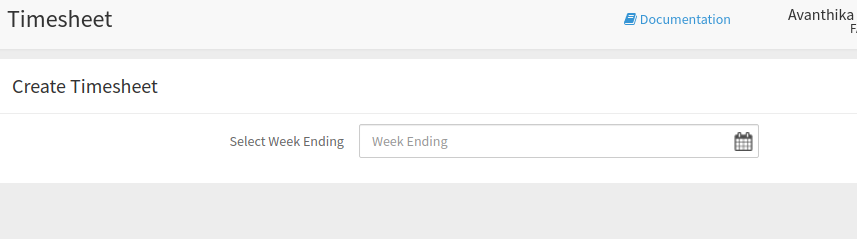
Select the employee and Week ending date from the date picker.
Step 4:
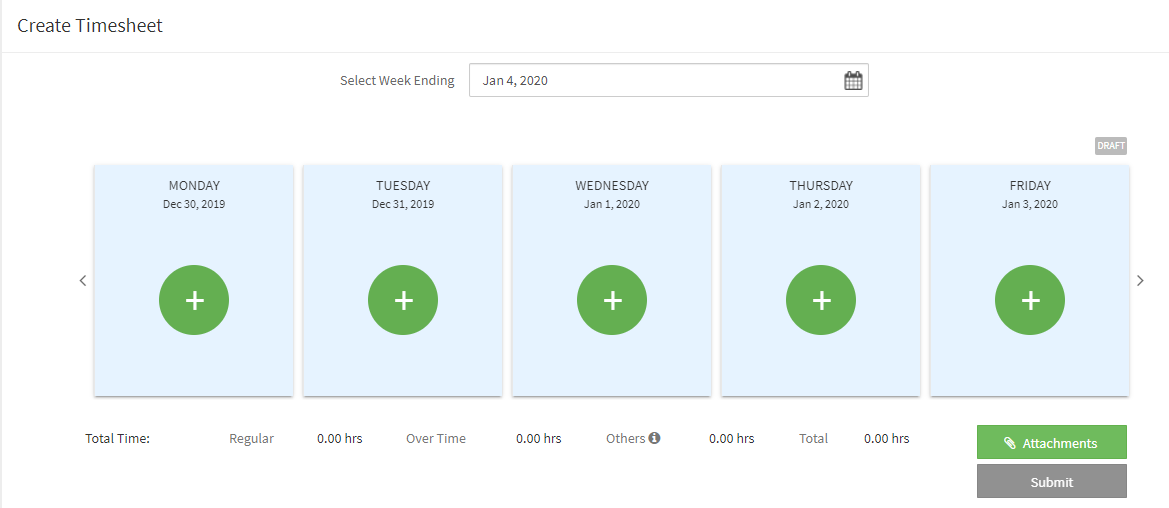
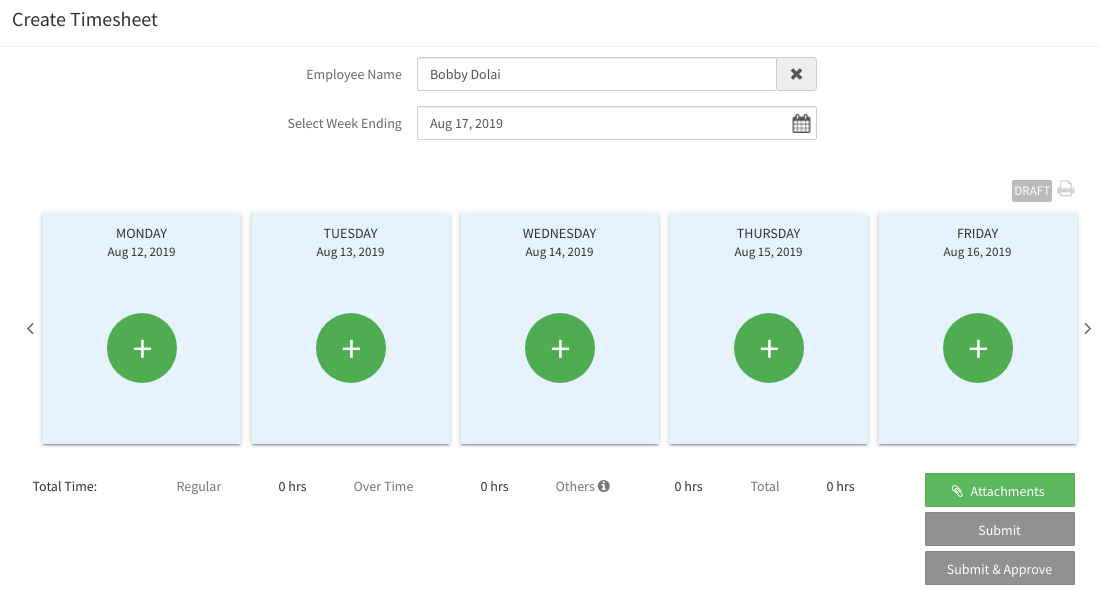
On selecting the date, the following screen will appear on the screen.
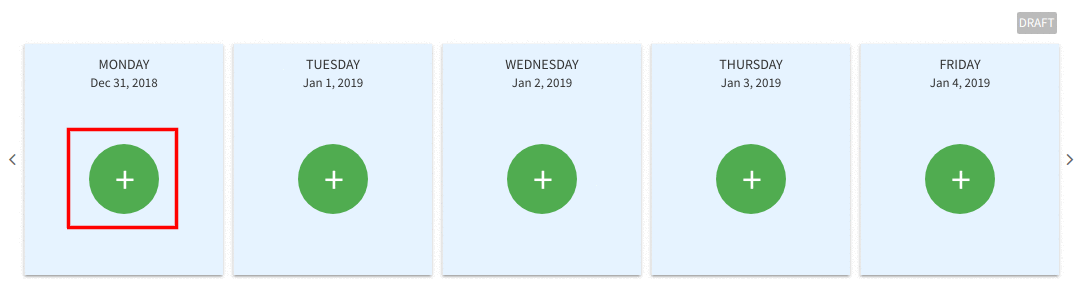
Step 5:
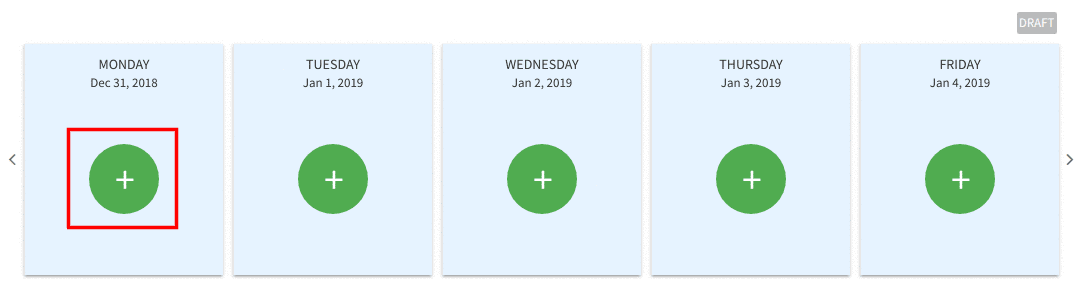
Click on the '+' icon on the day Tile to add the work details for the selected day.
Step 6:
On clicking on the '+' icon, a popup will appear on the screen to capture the details of Time.
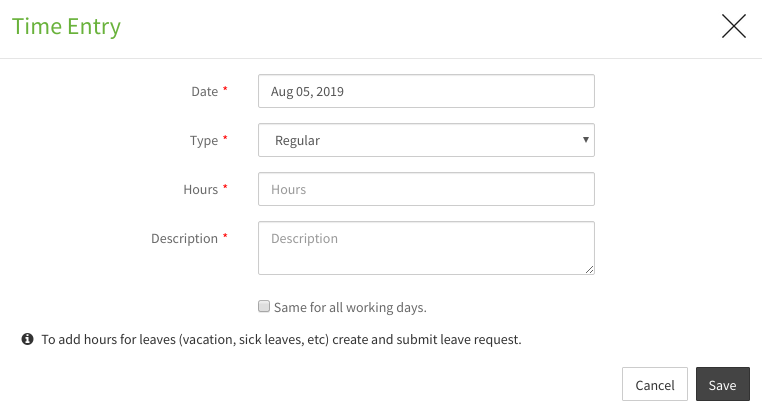
Step 7:
Enter the details and click on the Save button to update the details.
{primary} By checking the "Same for all working days" checkbox, the time entry details will be copied to all the days in the week.
Step 8:
On clicking on the Save button, a message appears prompting you that the Time entry is successfully added. Close the popup.
Step 9:
On closing the popup, you will be directed back to the create timesheet page where you can view the time entry details in the draft status.
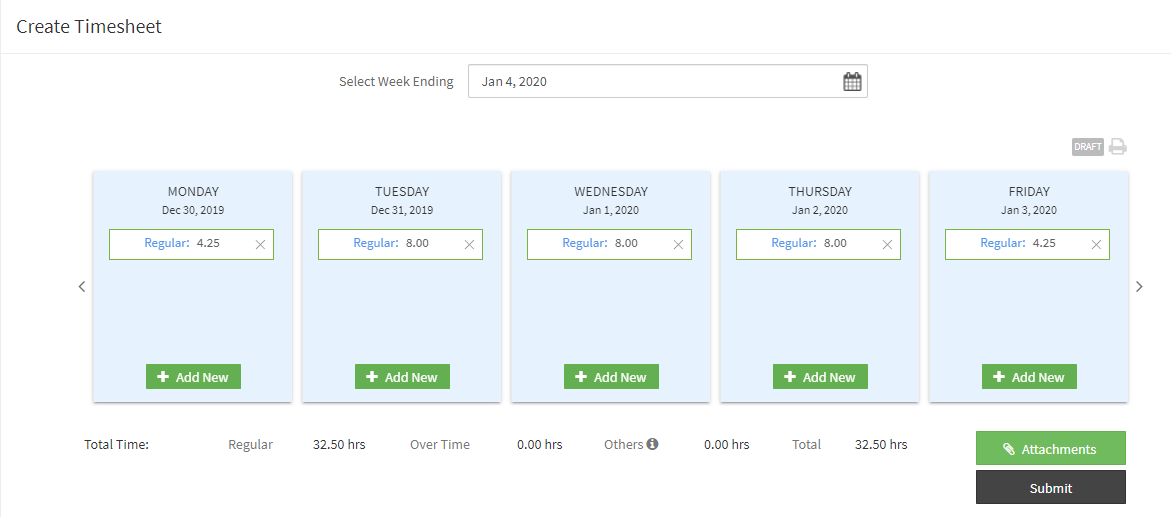
Step 10:
After reviewing the details, click on the Submit button to submit the timesheet for approval.
Step 11:
On submission, a message appears prompting you that the 'Timesheet Submitted Successfully'.
Create Timesheet On Behalf of Employee:
{info} Only Users with Company Timesheets Route can create the timesheet on behalf of an Employee.
Step 1:
Go to Time & Attendance--> Timesheets--> New Timesheet
Step 2:
On clicking on the submenu "New Timesheet", Create Timesheet page will appear on the screen.
Step 3:
Select the employee and Week ending date from the date picker.
Step 4:
On selecting the date, the following screen will appear on the screen.
Step 5:
Click on the '+' icon on the day Tile to add the work details for the selected day.
Step 6:
On clicking on the '+' icon, a popup will appear on the screen to capture the details of Time.

Step 7:
Enter the details and click on the Save button to update the details.
{primary} By checking the "Same for all working days" checkbox, the time entry details will be copied to all the days in the week.
Step 8:
On clicking on the Save button, a message appears prompting you that the Time entry is successfully added. Close the popup.
Step 9:
On closing the popup, you will be directed back to the create timesheet page where you can view the time entry details in the draft status.

Step 10:
After reviewing the details, click on the Submit button to submit the timesheet for approval (OR) click on Submit & Approve button for approving on submission of the timesheet.
{primary} Note: Submit & Approve button will appear to Superadmins only.
Step 11:
On submission, a message appears prompting you that the Timesheet is successfully submitted for approval (OR) On Submit & Approving the timesheet will be approved.