
Create Employee
There are 3 ways of adding employees:
{primary} Note: Only 100 employees can be imported at a time.
Manual Entry:
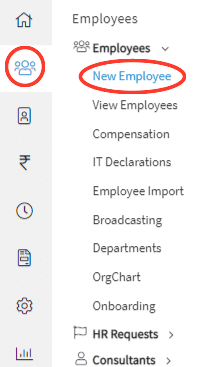
Step 1: Go to HR Management --> Employees--> Click on New Employee as shown
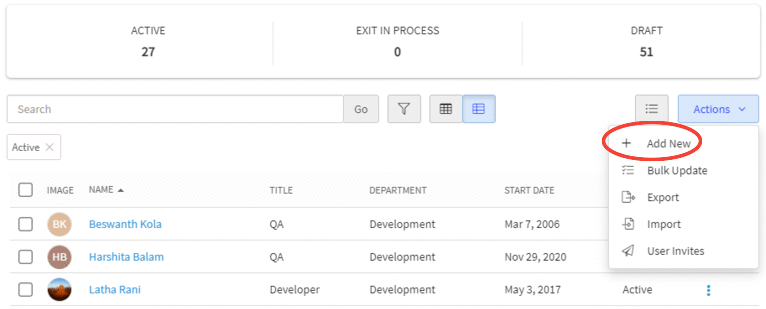
or Alternatively, Go to HR Management --> Employees --> View Employee --> Click on "Actions" dropdown and then click on "Add New" in that dropdown.
Step 2:
Fill up all the details of the employee and click on the "Next" button to create a new employee. Or alternatively, you can click on "Save Draft" button to save the employee in "Draft" status where you can update information later.
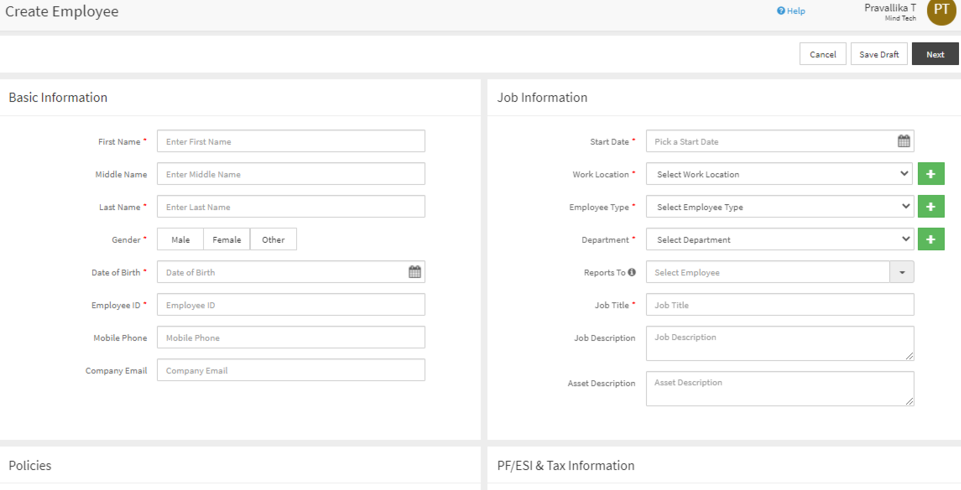
{primary} Note: All fields marked * are mandatory and user needs to fill up the details to proceed.
Once Employee is created by clicking on Next button, you will be redirected to the View Employee screen where you can update complete details of the employee.
Import Excel:
Step 1: Go to Employees--> Employees Import
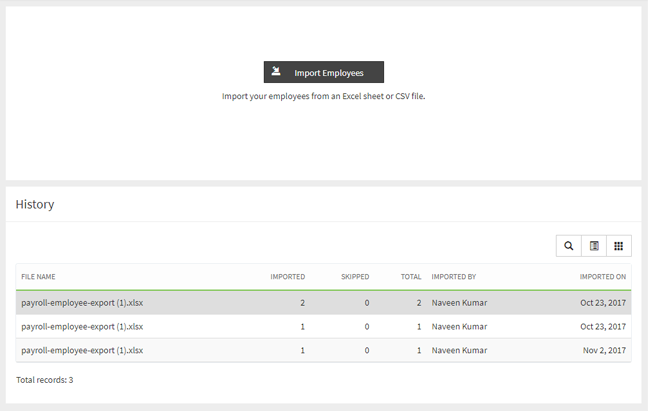
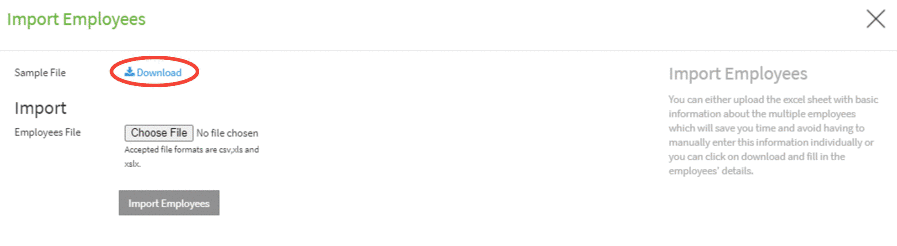
Step 2: Click on Import Employee button. When you click on the Import button a popup with sample file appears.
Step 3: Click on Download button. When you click on the Download button a sample excelsheet will be downloaded.
Step 4: Open the Excel file that you just downloaded. There is a total of 25 employee information related columns. It is recommended to fill in as many details as possible for the employee(s) that User is going to add.
{primary} Employee details can't be empty. At least one of the details of an employee should be there in the file to be imported.
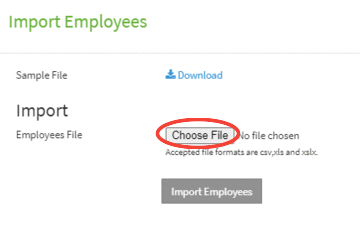
Step 5: Once you are done with adding the details of employees you want to import, save the file. Click on the Choose File button on the previous screen.
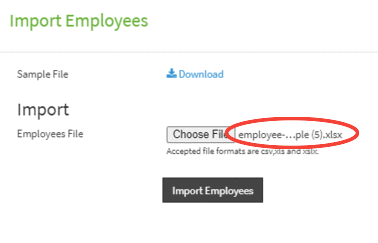
Step 6: Choose the file that was just updated with employees’ details to upload it to Sumopayroll application.
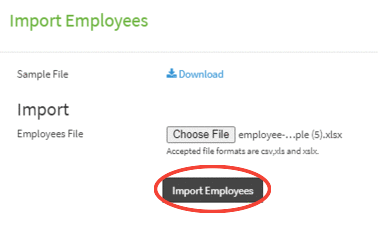
Step 7: Click on Import Employees button to import the uploaded file containing the employee details.
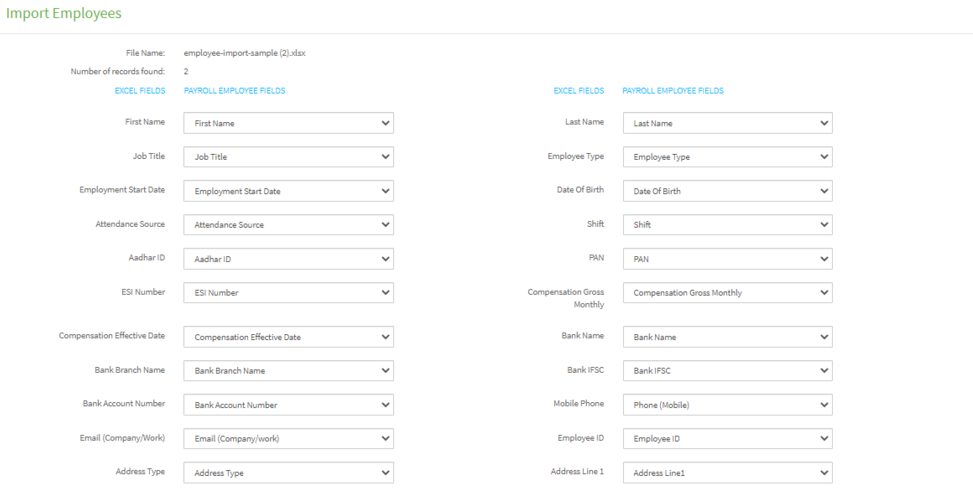
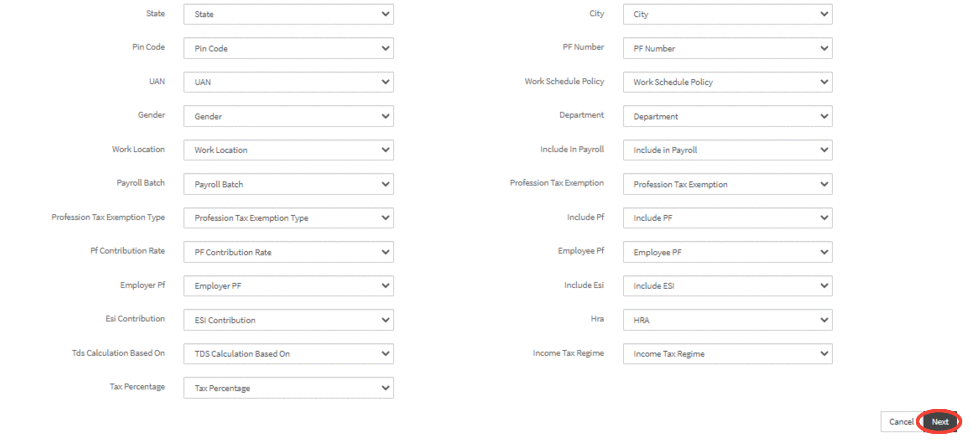
Step 8: Map the Excel fields to Sumopayroll Employee fields and click on Next button to continue.
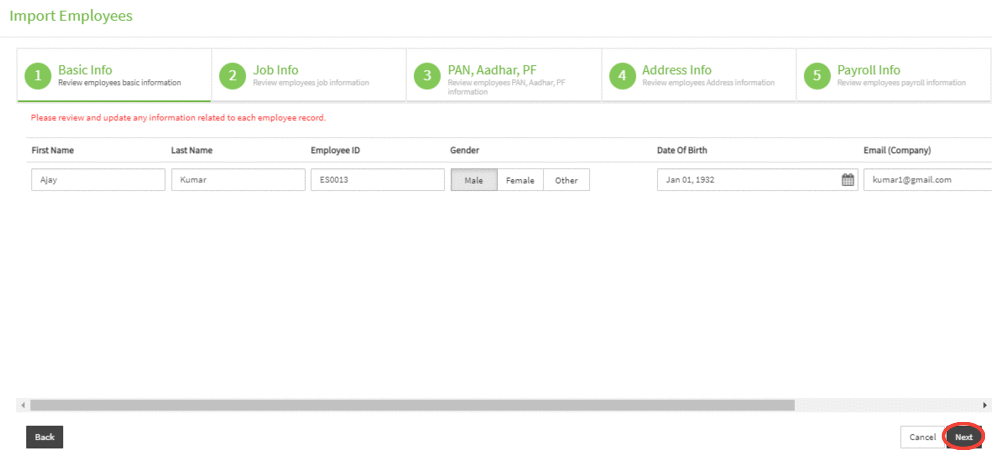
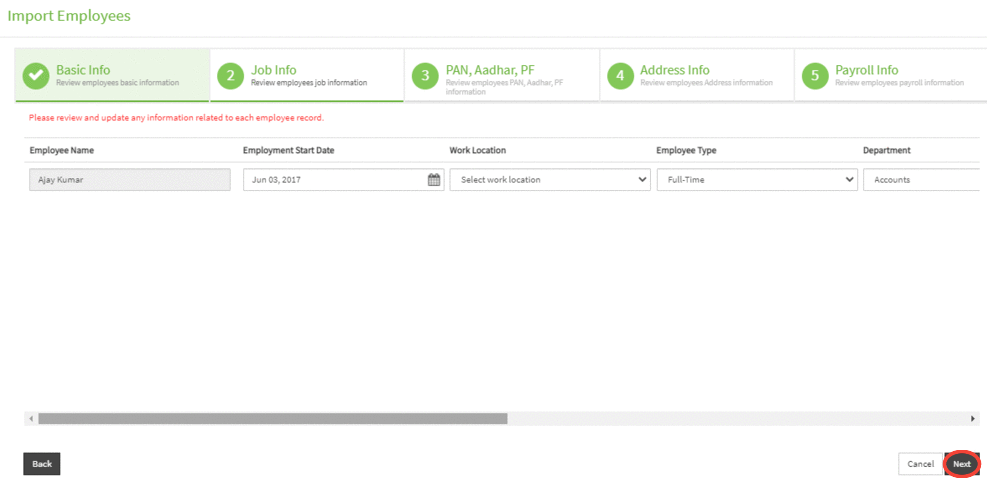
Step 9: User can review all the steps data (Basic Info, Job Info, PAN, Aadhaar, PF, Address Info and Payroll Info) that are being imported, on the next screen.
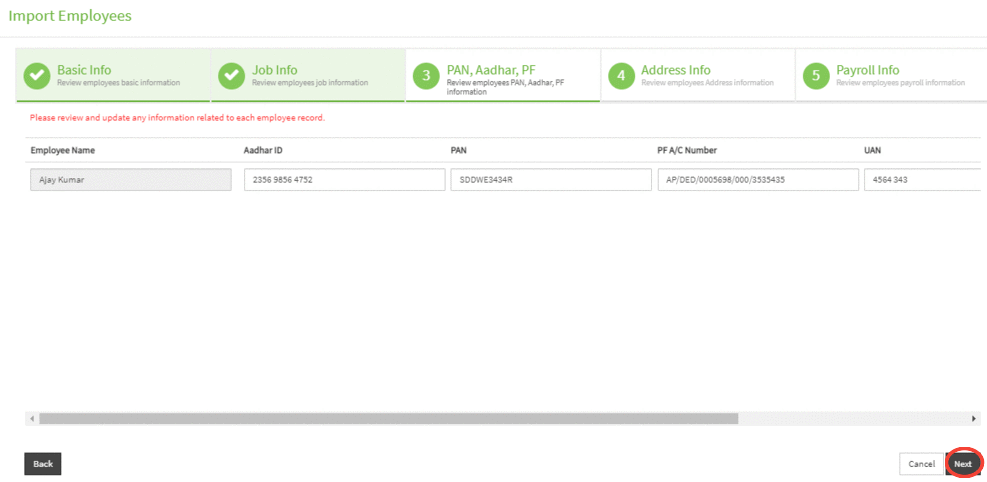
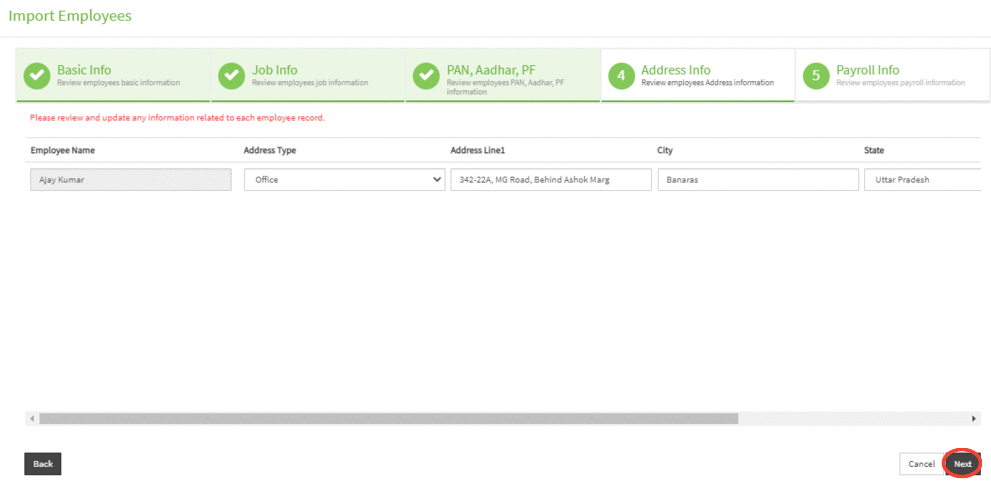
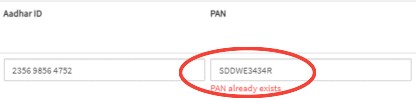
Step 10: In every step after clicking on Next button if error message (Please fix the validation issues) appears on the screen then you need to update the fields with respective validations.
Step 11: Once the User is done reviewing all steps and validating the correctness of the data, the User needs to click on the Import button in the 5th step (Payroll Info).
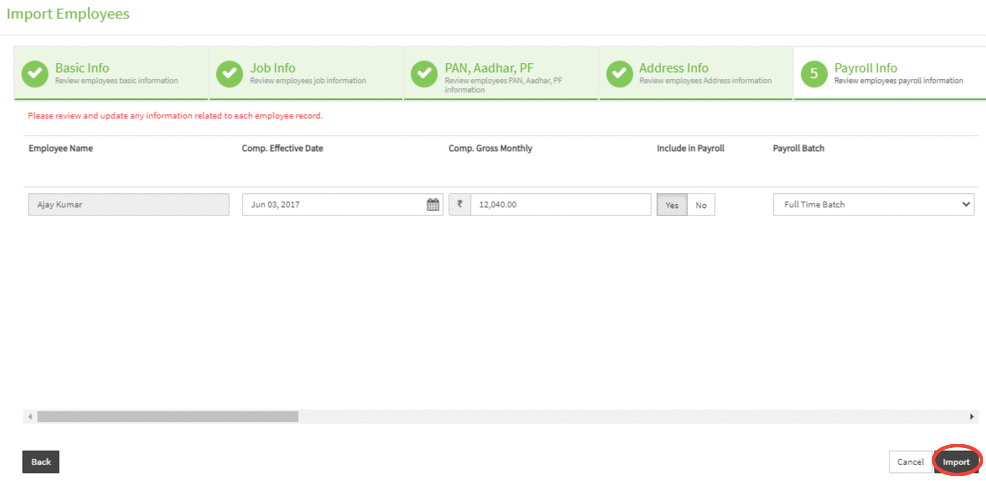
Step 12: A Confirmation message will be displayed to the User upon successful import of employees and the User will be directed to View Employee page where all the imported employees are displayed in "Active" status.
Onboarding:
Step 1:
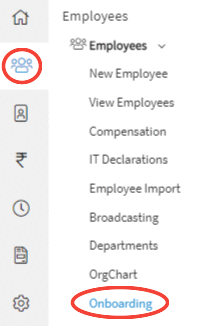
Go to Employees --> Onboarding
Step 2:
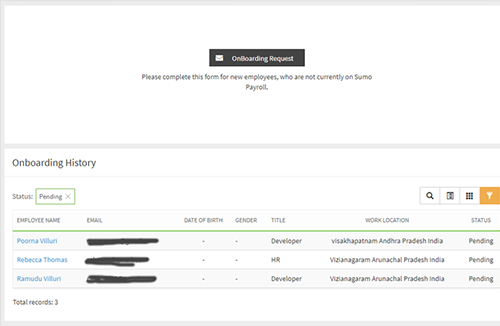
Click on "OnBoarding Request " button.
Step 3:
On clicking on the Onboarding Request button, a pop-up form will appear on the screen to capture the details required for OnBoarding an employee.
{primary} All fields marked * are mandatory and you need to fill up the details to proceed.
Step 4:
After entering the details, click on the Save button in the form to continue with the process.
Step 5:
On clicking on the Save button, a message appears prompting you that the Employee Onboarding request is successfully sent.
Step 6:
On closing the popup, you will be re-directed to ‘Employee Onboarding’ page where the user can view the details of the candidate for whom the On-boarding request has been submitted along with the checklist to complete the process of On-Boarding an employee.
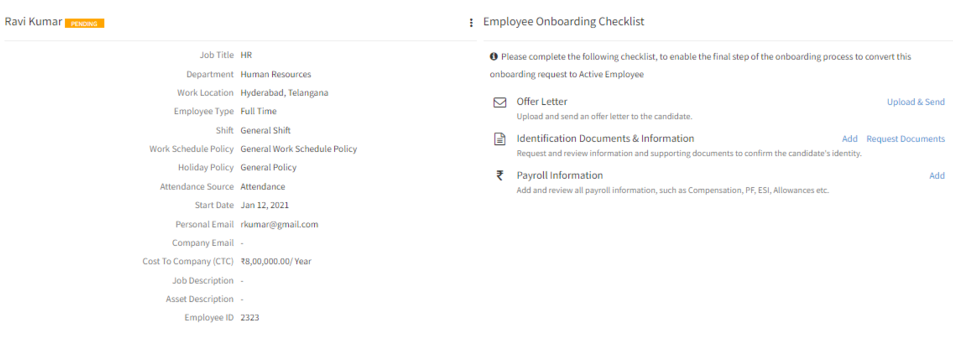
{info} Until you complete all the 3 checklists the final step of the On-Boarding process will not be enabled.
Step 7:
In 1st Checklist, Click on "Upload & Send" link to upload the Offer Letter.

Step 8:
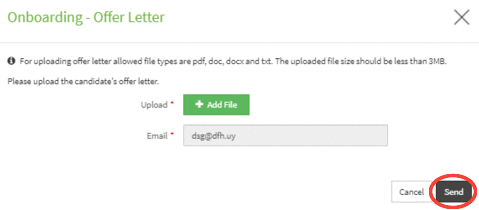
On clicking on the “Upload & Send” link, a popup form will appear on the screen.
Step 9:
Click on Add File button to select and upload the Offer letter file from your system.
{primary} Email field will be prefilled by the email of the selected candidate to whom you wanted to send the offer letter.
Step 10:
Click on the Send button to send the Offer Letter. On clicking on the Send button, a message appears prompting you that the Offer letter is successfully sent to the candidate.
Step 11:
On closing the popup, you will be directed to the previous screen where you can view the first checklist with a tick confirming the first checklist's successful completion.

Step 12:
In 2nd Checklist, You can send a request to Candidate to submit supporting documents and information for the Candidate's identification and other information by clicking on "Request Documents".

Step 13:
Once the request is sent, the candidate will receive an email with a link to fill the candidate's details and upload the documents. Upon receiving the documents, review the documents and verify the Information to complete the 2nd checklist of the On-Boarding process.
Step 14:
Alternatively, You can add the Candidate's information by clicking on "Add". On clicking on "Add" the User will be guided with step by step process to capture the Basic Information, Address Details, Bank Information and documents of the candidate.

Step 15:
After clicking on the "Add" a form will appear on the screen and you need to fill up the details.
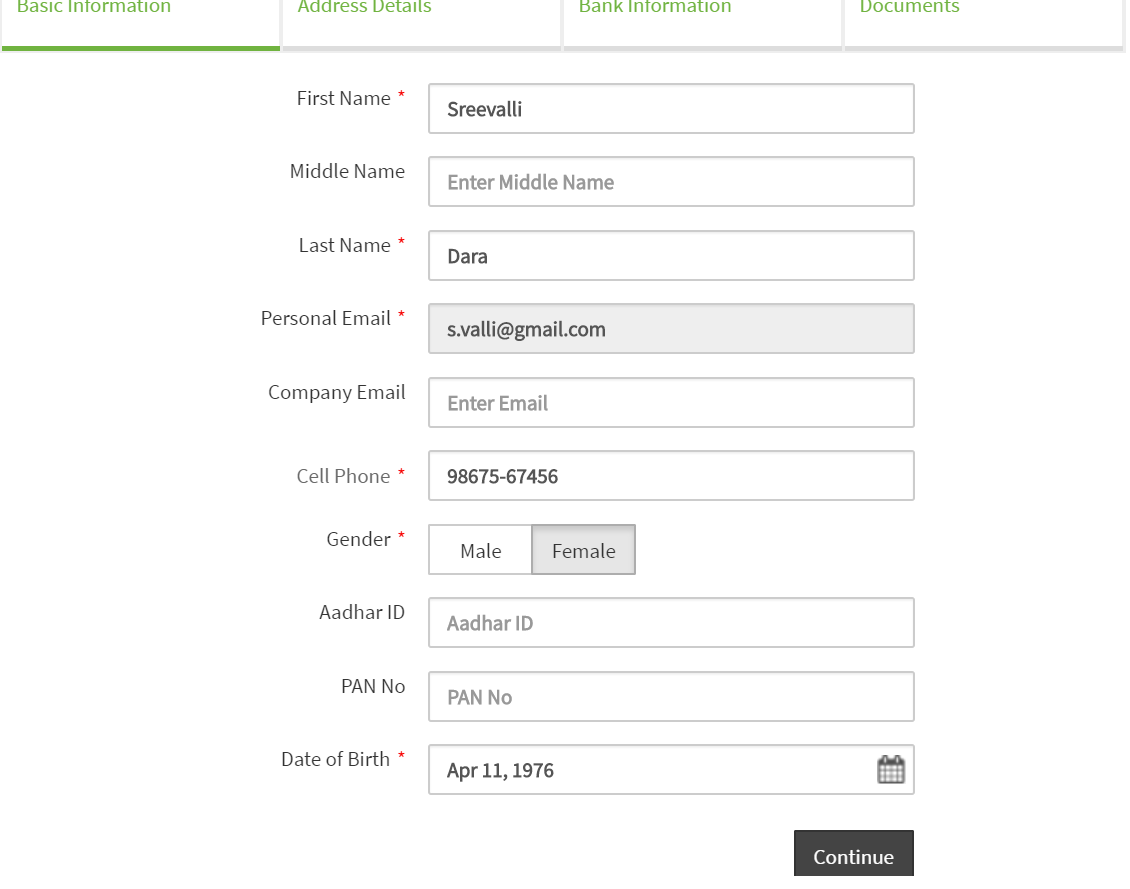
Step 16:
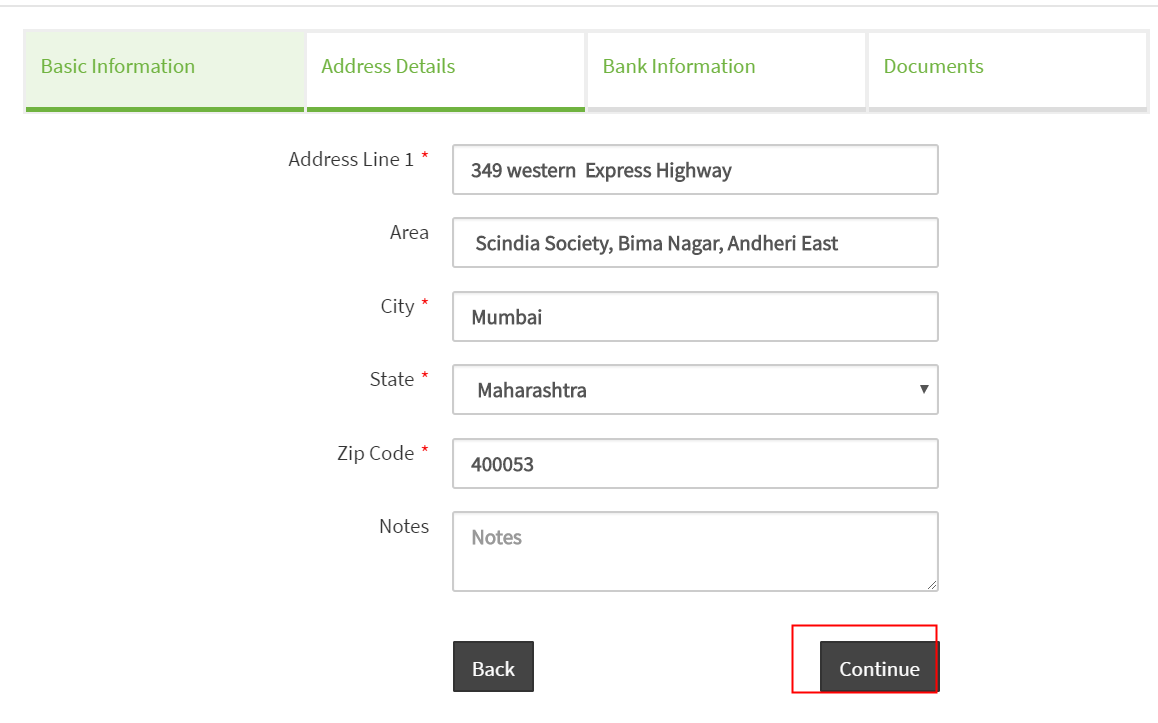
After entering the details, click on the "Continue" button. On clicking on the "Continue" button, the Address Information form will appear on the screen. Enter the Address details of the candidate and click on the "Continue" button.
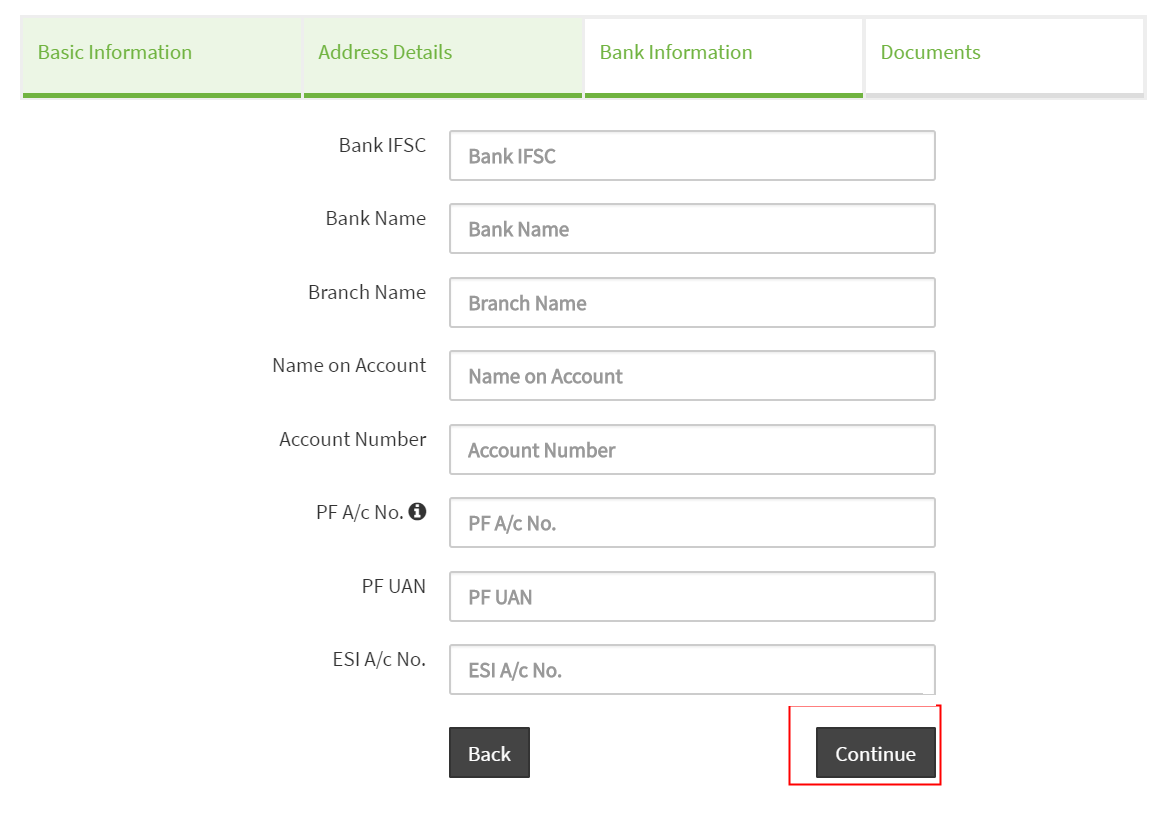
Step 17:
On clicking on the "Continue" button, the Bank Information form will appear on the screen. Enter the Bank details of the candidate and click on the "Continue" button.
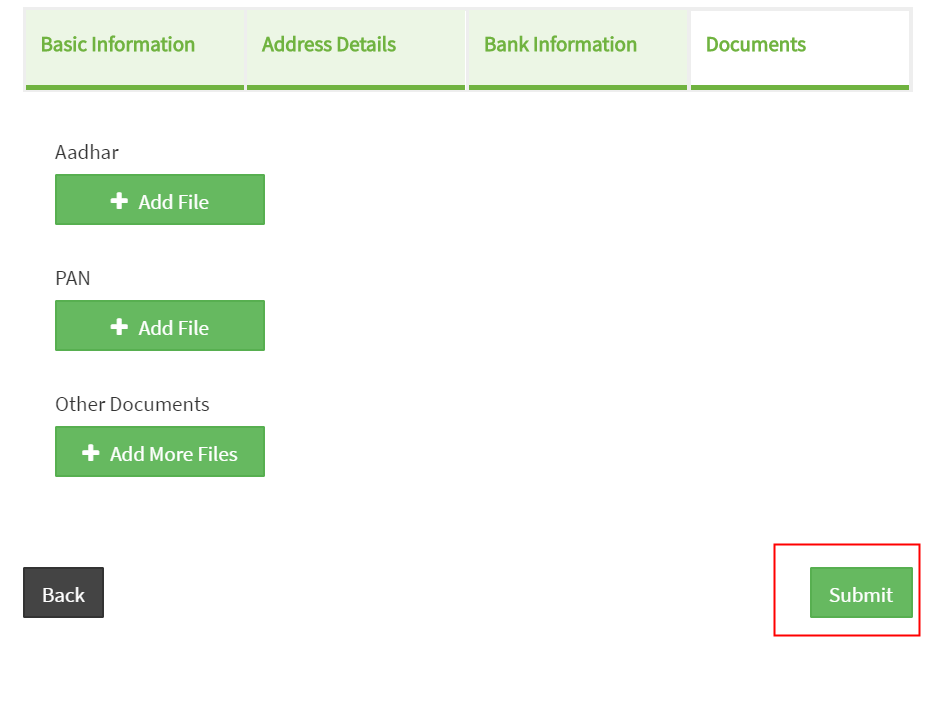
Step 18:
On clicking on the "Continue" button, the Documents form will appear on the screen. Upload candidate's documents and click on the Submit button.
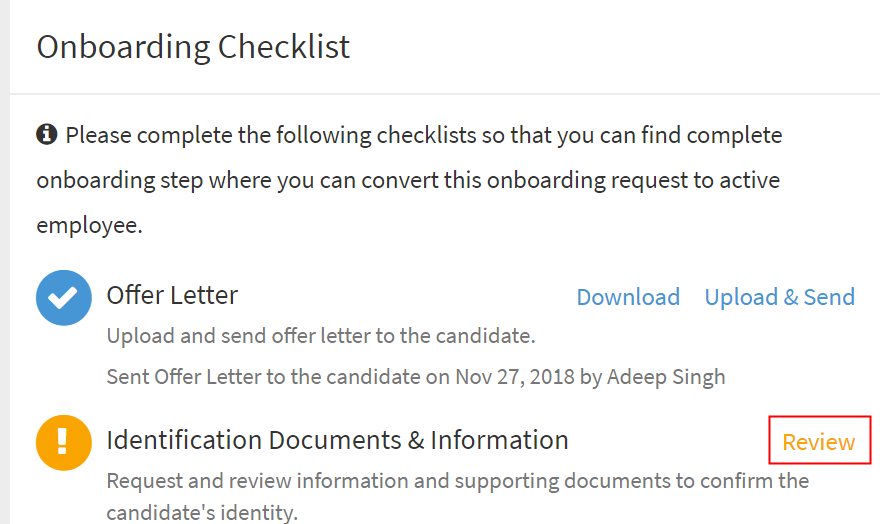
Step 19:
On closing the popup, you will be directed to the previous screen where you can view the second checklist with a "Review" option. Click on the "Review" link to review the Candidate's information before approving.
Step 20:
You can review the candidate's information and click on "Edit" button to update any information of candidate or can click on "Approve" button to approve the On-boarding information.
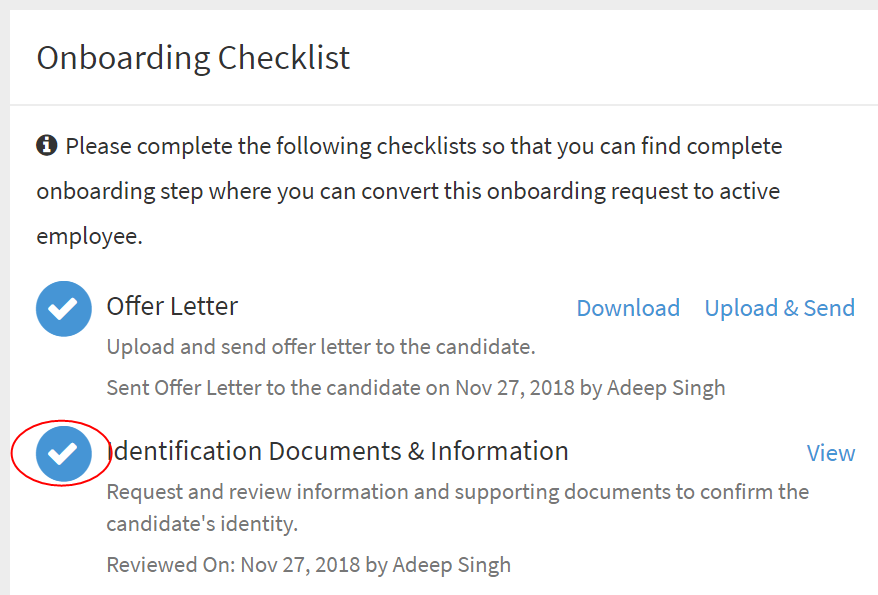
Step 21:
On approving, a confirmation message will be displayed to the user . Close the message and you will be directed to the On-boarding screen where you can view the second checklist with a tick confirming the second checklist's successful completion.
Step 22: In 3rd Checklist, Click on "Add" link next to the payroll information to complete the third checklist of the On-boarding process.
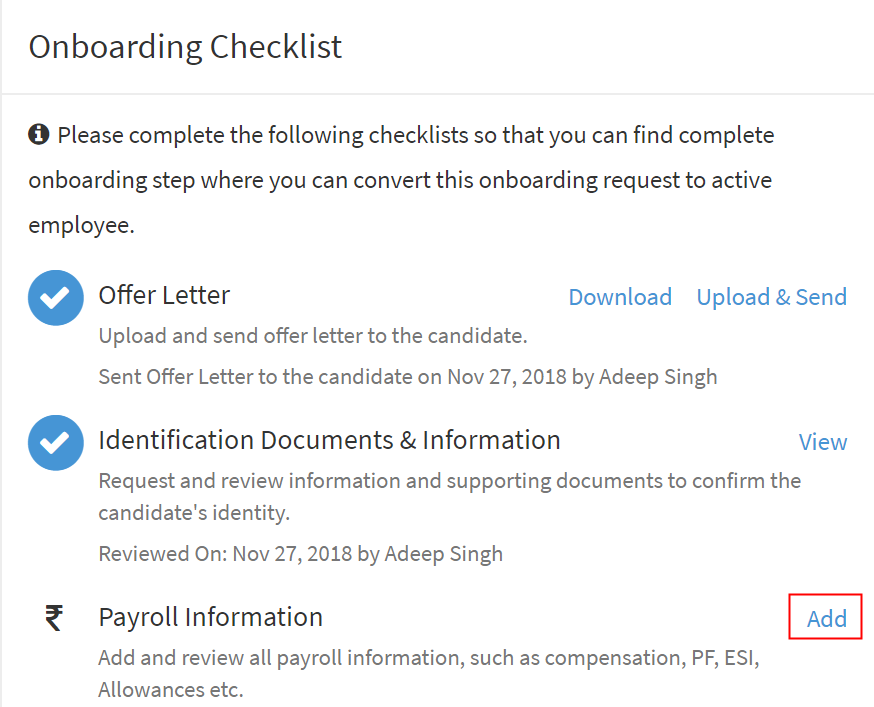
Step 23:
On clicking on the "Add" link, a popup form will appear on the screen to capture information regarding the candidate's Payroll.

{primary} TDS calculation based on Tax Slabs (Salaried Employee) means TDS is calculated as like in the statutory compliance income tax slabs where as TDS calculation based on Tax Percentage (Consultants) means TDS is calculated as per the percentage given the Tax Percentage field.
Step 24:
Enter the necessary details and click on the "Save" button to save the information. On clicking on the “ Save” button, a confirmation message will appear on the screen.
{primary} All fields marked with * are mandatory and you need to fill up the details to proceed.
Step 25:
On closing the popup, you will be directed to the On-boarding screen where you can view the third checklist with a tick confirming the third checklist's successful completion.
Step 26:
On completion of the 3 checklist’s process, the final step of the On-Boarding request process will be enabled.
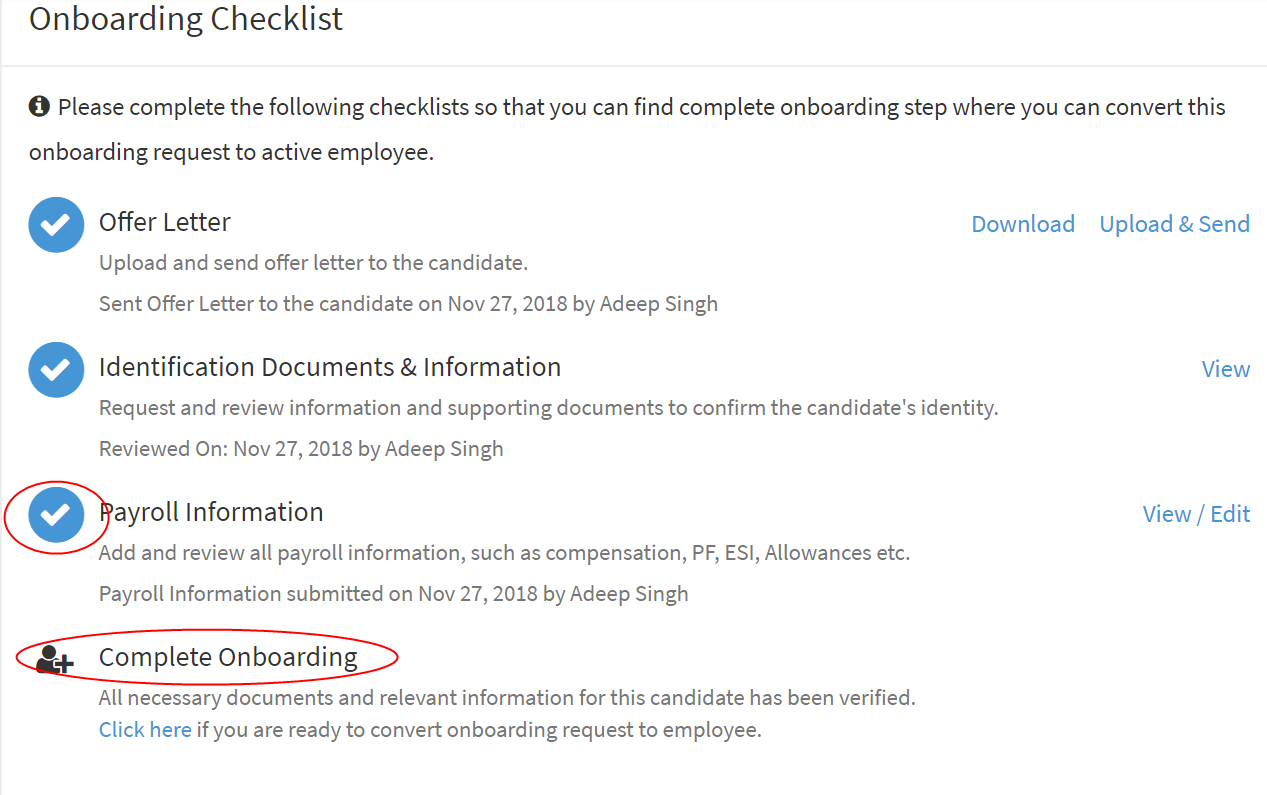
Step 27:
Click on the "Click here" link in the Complete On-boarding step to convert the Candidate's On-boarding request to "Active" Employee.
Step 28:
On clicking on the "Click here" link a popup will appear on the screen, prompting you to convert this onboarding request to employee.
Step 29:
Click on the "Yes" button. On clicking on the Yes button, a confirmation message appears prompting you about the successful conversion of On-boarding request to an "Active" Employee.