
Notification Settings
- HR Request Notifications
- Payroll Notifications
- Billing Notifications
- Reply To Email
- Birthdays Reminder
- Work Anniversaries Reminder
{primary} Under these settings, you can configure the roles and the emails you want to send the notification for the following
HR Request Notifications:
Add Recipient Role:
Step 1:
Go to Administration-->Company Settings--> Notification Tab
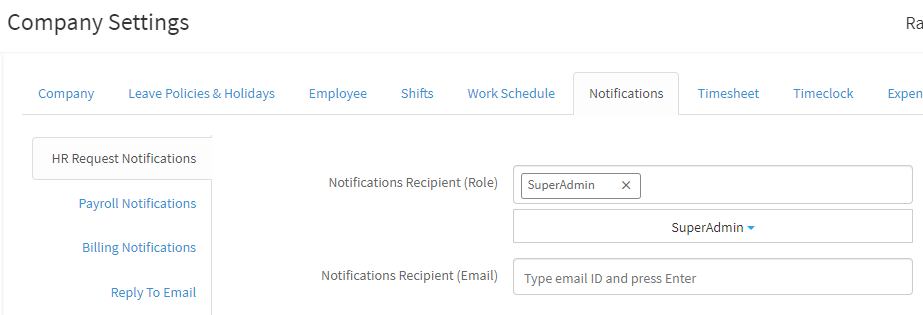
Step 2:
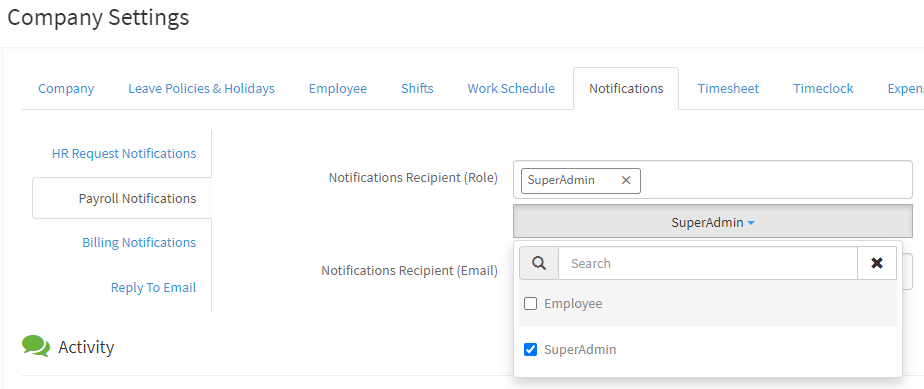
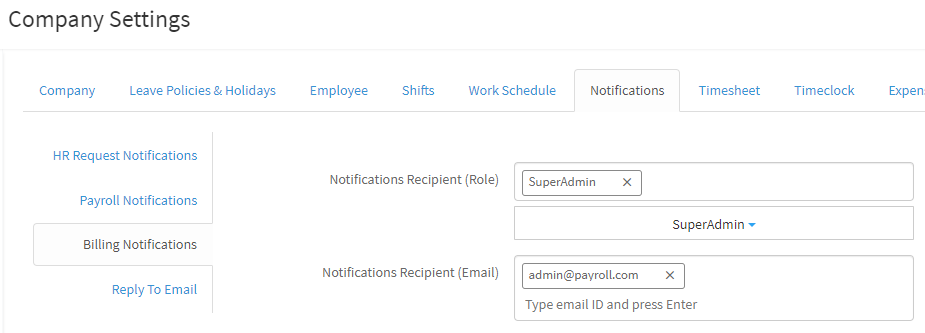
You can add another role for Recipient (Role) by typing a character of the role name. After typing the character, click on the role name from the drop-down list that was displayed to add the role.
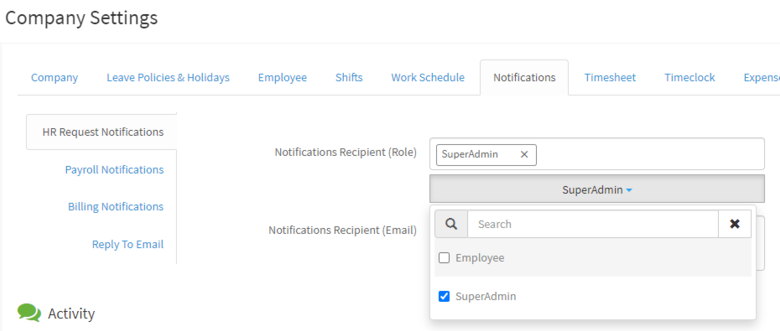
Step 3:
On selecting the role, a success message will appear on the screen and you can see the newly added role is displayed in the 'Recipient (Role)' field.
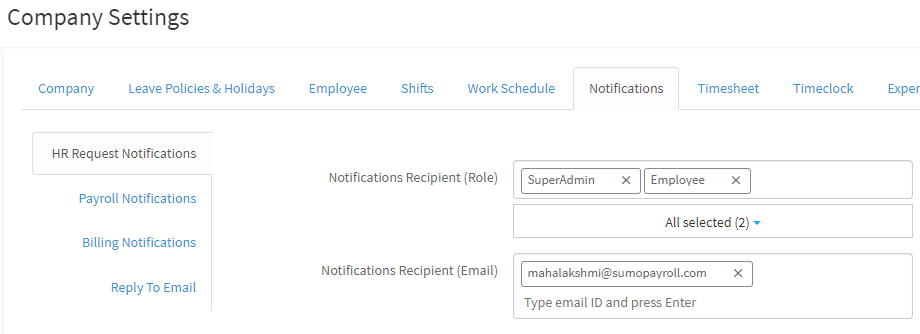
Add / Remove Recipient Email:
Step 1:
Go to Administration-->Company Settings--> Notification Tab
Step 2:
To add new email id to which you want to send the HR Request notifications, type the email id in the Recipient (Email) field and press Enter in the keyboard.
Step 3:
To remove the already email from the 'Recipient Email' click on next to email id. After clicking on the X the email id will be removed from the Recipient Email.

Payroll Notifications:
Add Recipient Role:
Step 1:
Go to Administration-->Company Settings--> Notification Tab
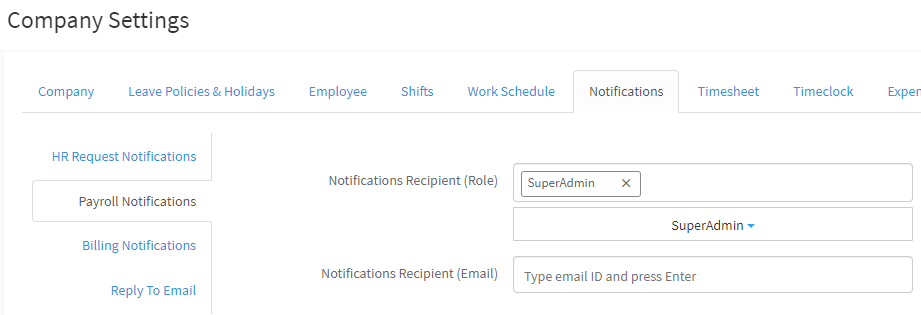
Step 2:
You can add another role for Recipient (Role) by typing a character of the role name. After typing the character, click on the role name from the drop-down list that was displayed to add the role.
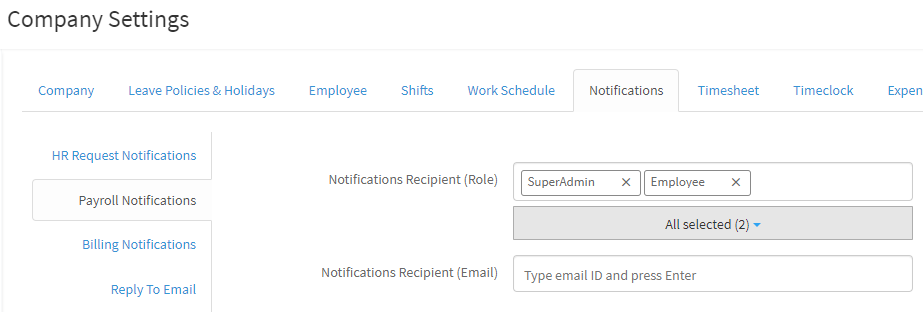
Step 3:
On selecting the role, a success message will appear on the screen and you can see the newly added role is displayed in the Recipient (Role) field.
Add / Remove Recipient Email:
Step 1:
Go to Administration-->Company Settings--> Notification Tab
Step 2:
To add new email id to which you want to send the Payroll notifications, type the email id in the Recipient (Email) field and press 'Enter' in the keyboard.
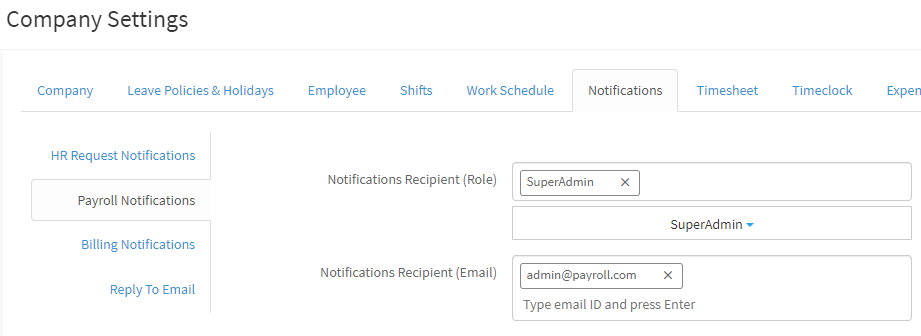
Step 3:
To remove the already added email from the 'Recipient Email' click on next to email id. After clicking on the the email id will be removed from the Recipient Email.
Billing Notifications:
Add Recipient Role:
Step 1:
Go to Administration-->Company Settings--> Notification Tab
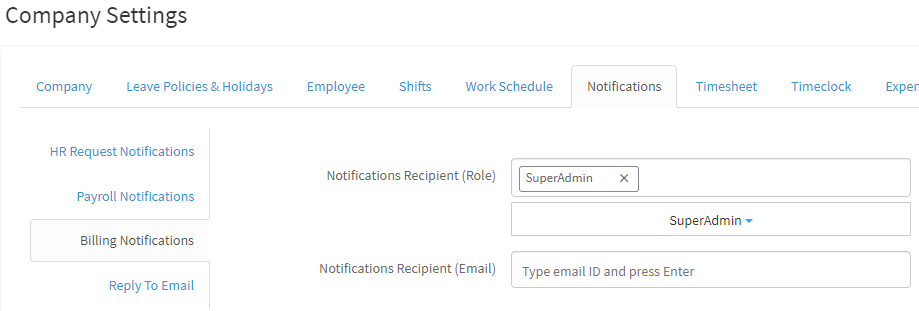
Step 2:
You can add another role for 'Recipient (Role)' by typing a character of the role name. After typing the character, click on the role name from the drop-down list that was displayed to add the role.

Step 3:
On selecting the role, a success message will appear on the screen and you can see the newly added role is displayed in the 'Recipient (Role)' field.

Add / Remove Recipient Email:
Step 1:
Go to Administration-->Company Settings--> Notification Tab
Step 2:
To add new email id to which you want to send the Billing notifications, type the email id in the ' Recipient (Email)' field and press 'Enter' in the keyboard.
Step 3:
To remove the already added email from the 'Recipient Email' click on "X" next to email id. After clicking on the "X" the email id will be removed from the Recipient Email.
Reply To Email:
Step 1:
Go to Administration-->Company Settings--> Notification Tab
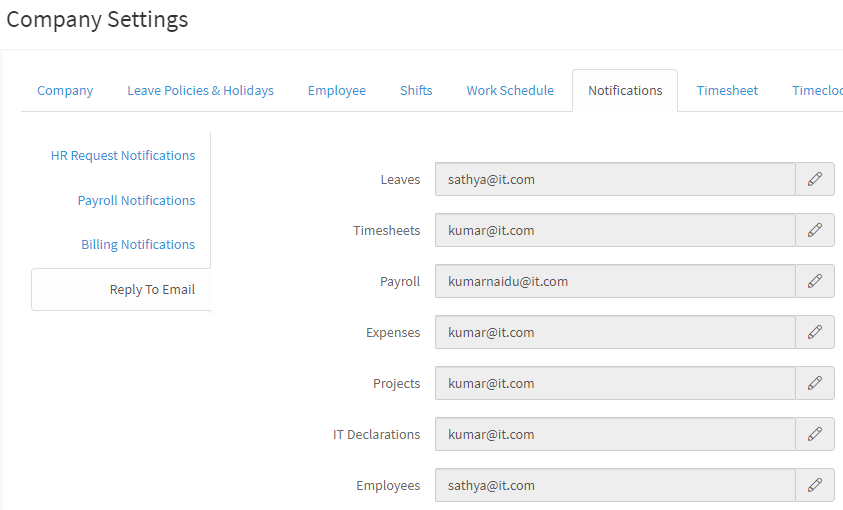
{primary} Note: When anyone replies to the emails received from Sumopayroll, the following emails ids will receive them according to the module.
Step 2:
You can add/update an email in the respective textbox like Leaves, Timesheets, etc,. by clicking on pencil icon. After updating email click anywhere else on the screen then email will be saved.
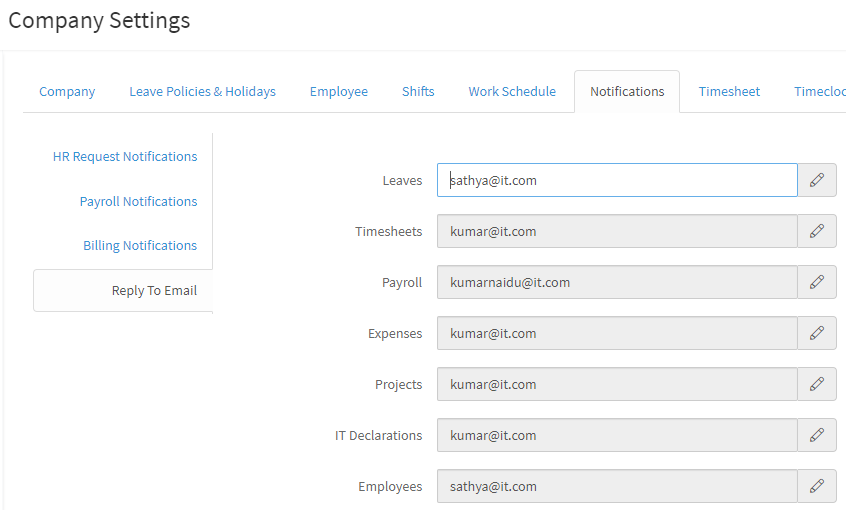
{primary} Note: Max emails allowed per field is 1.
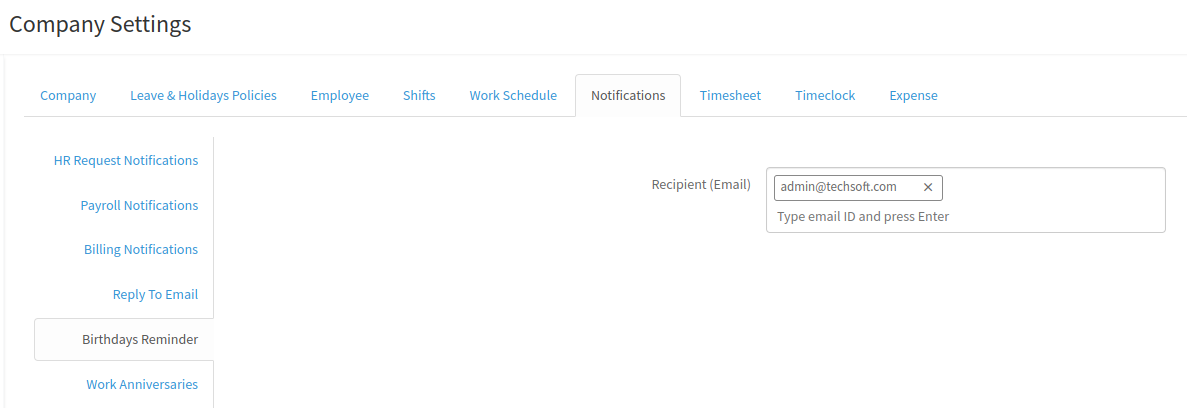
Birthdays Reminder:
Step 1:
Go to Administration-->Company Settings--> Notification Tab
Step 2:
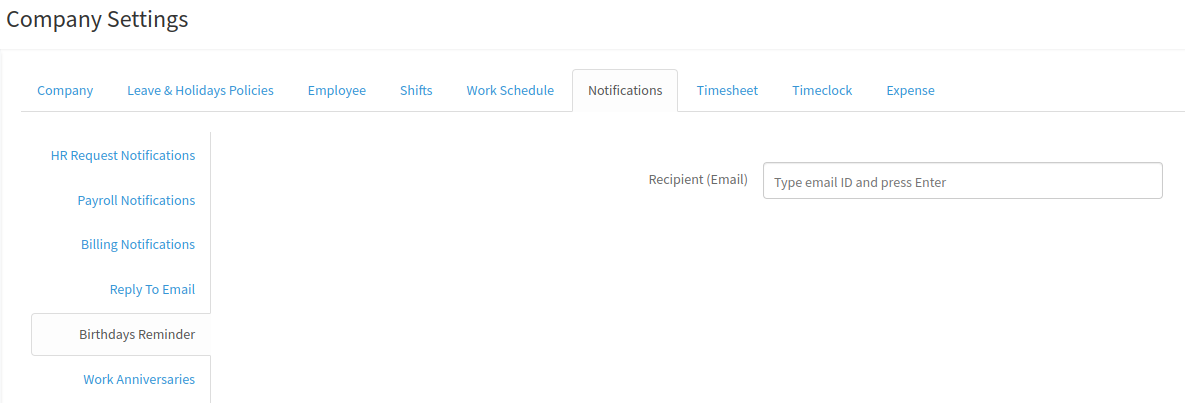
To add new email id to which you want to send the Birthdays Reminder, type the email id in the ' Recipient (Email)' field and press 'Enter' in the keyboard.
Step 3:
To remove the already added email from the 'Recipient Email' click on "X" next to email id. After clicking on the "X" the email id will be removed from the Recipient Email.
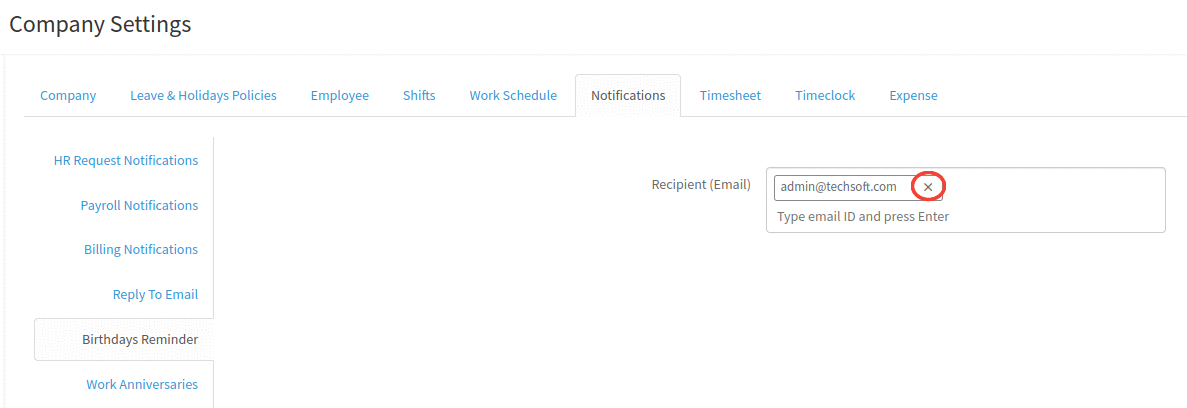
{primary} Note: The maximum allowed number of emails is 10.
Work Anniversaries Reminder:
Step 1:
Go to Administration-->Company Settings--> Notification Tab
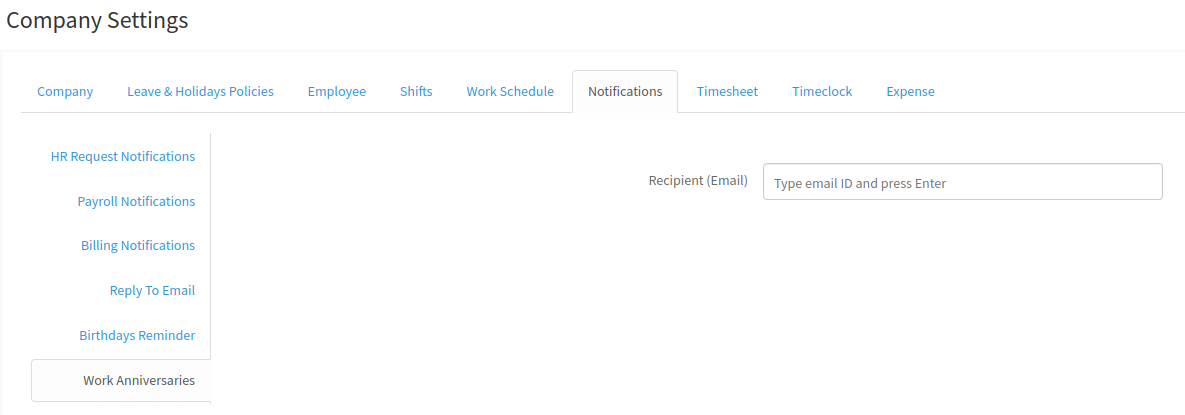
Step 2:
To add new email id to which you want to send the Work Anniversaries Reminder, type the email id in the ' Recipient (Email)' field and press 'Enter' in the keyboard.
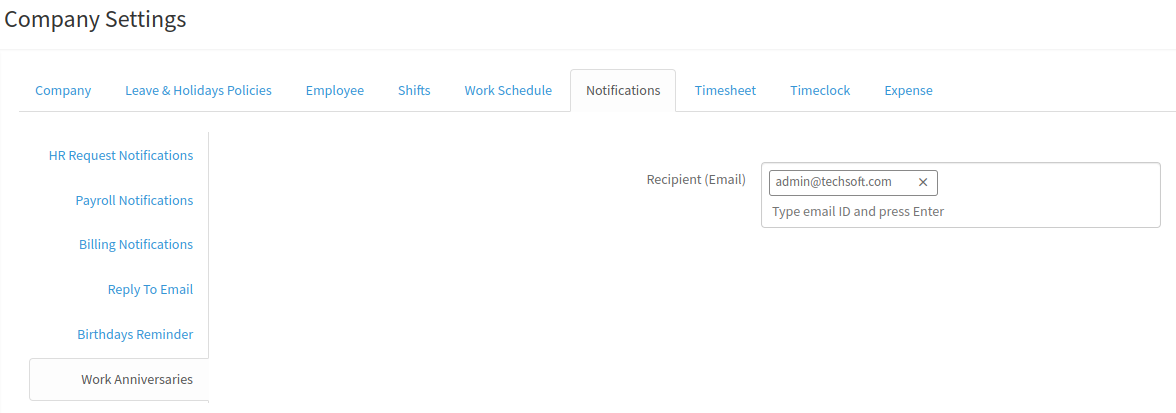
Step 3:
To remove the already added email from the 'Recipient Email' click on "X" next to email id. After clicking on the "X" the email id will be removed from the Recipient Email.

{primary} Note: The maximum allowed number of emails is 10.