
Add Expenses
There are 2 ways of adding Expenses:
My Expenses:
Step 1: Go to Self Service--> Expenses menu item. My Expenses page will appear on the screen. Click on "Add New" button as shown.

Step 2:
A popup will be displayed to the User to capture the Employee's expense details. Fill up the details and click on the "Save" button. Upon clicking on "Save" button a confirmation message will be displayed.
{primary} Note: All fields marked * are mandatory and user needs to fill up the details to proceed.
Step 3:
Upon closing the popup, User can view the added expense in the table with status "Submitted". Once the approver approves the submitted expense, the status of the expenses will be changed to "Approved".
Employees Expenses:
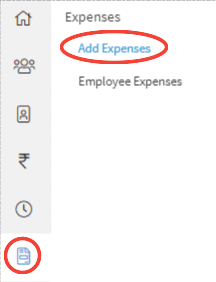
Step 1: Go to Expenses→ Add Expenses.
Step 2:
On clicking on Add Expenses a popup will appear on the screen.
Step 3:
Fill up details in the form and click on the "Approve" button to approve the expenses or click on the "Save Draft" button to save the expenses details in draft status.
{primary} Note: All fields marked with * are mandatory and User needs to enter the details in those fields to proceed further.
Step 4:
Upon clicking on the Approve button a confirmation message will be displayed and then click on Cross Mark button in the popup.
Step 5:
Upon closing the popup, the User will be re-directed to the Expenses page and the User can view the approved expenses in the table.
{primary} Note: User can add another expense by clicking on "Add New" button on the top of the grid and follow the steps from Step 3 to Step 5.