
Payroll Settings
{primary} Under Payroll Settings, we have various configuration setting pages related to Payroll management.
Payroll Batches:
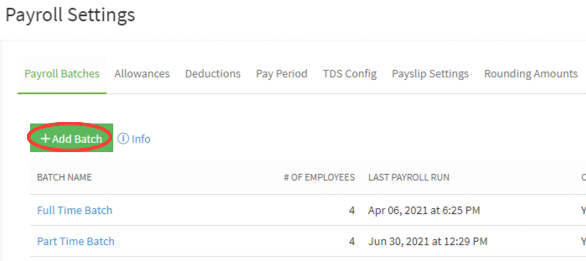
{primary} By default, Full Time and Part Time batches will be there for every organization upon completing the process of Account Setup. The user can add new batches with default settings or can add batches with custom settings.
Step 1:
Go to Payroll→ Payroll Settings→ Payroll Batches Tab and click on Add Batch button.
Step 2:
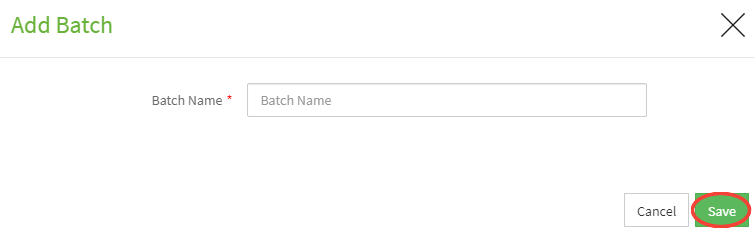
Upon clicking on the "Add Batch" button, a popup will appear prompting the user to enter the details of the batch.
Step 3:
Enter the details and click on the Save button. After clicking on the Save button, a message appears prompting the User that the batch is successfully added.
Step 4:
Upon closing the popup, the User will be directed to the Batches page where the details of the newly added batch will appear on the screen.
The user can do the following :
-
Can edit the batch name.
-
Can de-activate the batch.
-
Can review the details and if required can update any details by clicking on the burger menu.
Allowances:
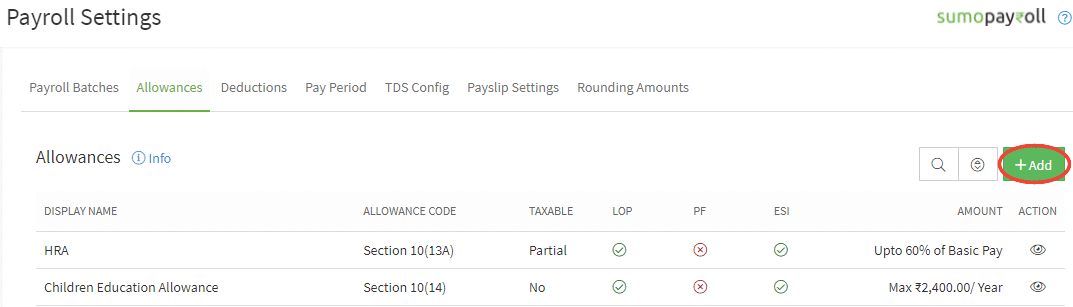
{primary} Under Allowances settings tab the User can add/update the allowances.
- Standard allowances cannot be modified, except HRA.
{primary} By default, some of the Allowance Types will be there for every organization upon completing the process of Account Set Up.
Add New Allowance Type:
Step 1:
Go to Payroll→ Payroll Settings→ Allowances Tab. Click on "Add" button.
Step 2:
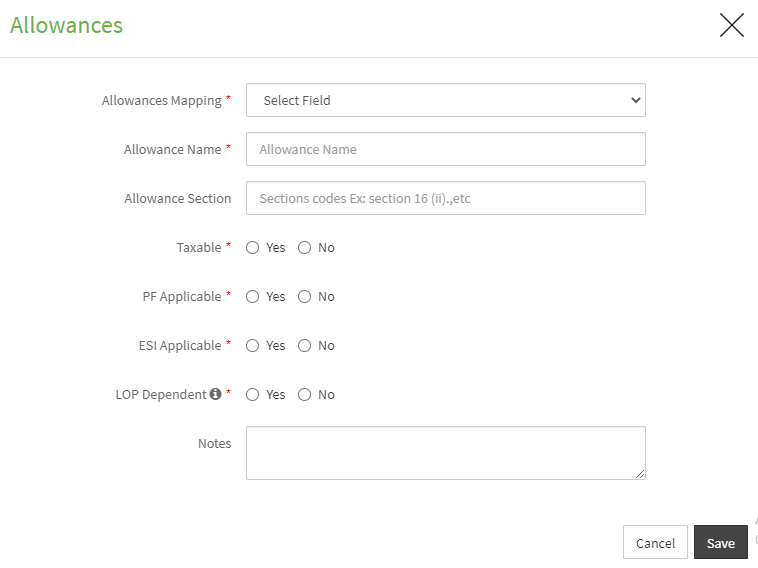
Upon clicking on the Add button, a popup will appear prompting the user to enter the details of the Allowance type.
Step 3:
Enter the details and click on the Save button. After clicking on the Save button, a message appears prompting the User that the allowance type is successfully added.
Step 4:
Upon closing the popup, the User will be directed to the Allowances page where the details of the newly added allowance type will be displayed in the Allowance Types list.
Step 5:
The user can view the details of default Allowance Type by clicking on 'Eye' icon and user can edit the newly added allowance type by clicking on the 'Pencil' icon and user can delete the newly added allowance type by clicking on the 'Trash' icon.
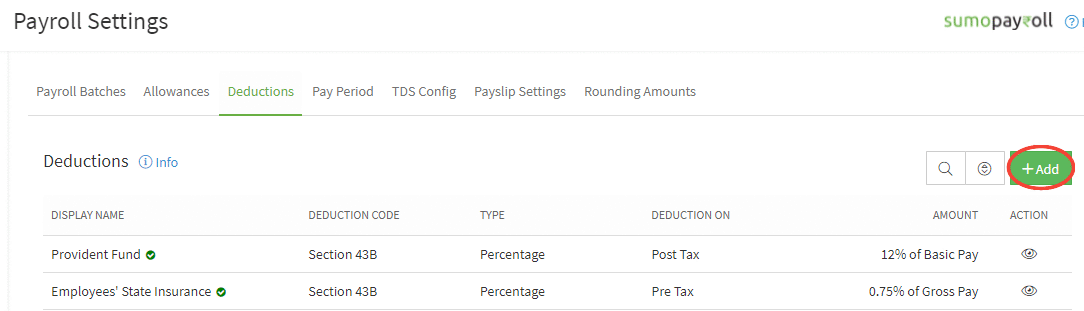
Deductions:
{primary} Under Deductions settings tab the User can add/update the deductions. Companies are legally required to withhold mandatory deductions, from employee's paychecks.
-
Standard deductions cannot be modified.
-
Deductions are generally calculated on basic/gross salary.
{primary} By default, some of the Deduction Types will be there for every organization upon completing the process of Account Set Up.
Add New Deduction Type:
Step 1:
Go to Payroll→ Payroll Settings→ Deductions Tab. Click on "Add" button.
Step 2:
Upon clicking on the Add button, a popup will appear prompting the user to enter the details of the Deduction type.
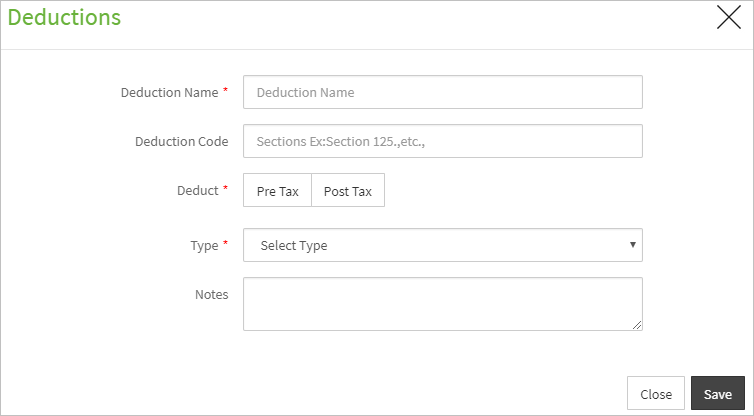
Step 3:
Enter the details and click on the Save button. After clicking on the Save button, a message appears prompting the User that the deduction type is successfully added.
Step 4:
Upon closing the popup, the User will be directed to the Deductions page where the details of the newly added deduction type will be displayed in the Deduction Types list.
Step 5:
The user can view the details of default Deduction Type by clicking on 'Eye' icon and user can edit the newly added Deduction type by clicking on the 'Pencil' icon and user can delete the newly added Deduction type by clicking on the 'Trash' icon.
Pay Period:
{info} Pay period Start Day will be as what has been set during the account setup. You can change only by contacting Sumopayroll support.
Step 1:
Go to Payroll --> Payroll Settings--> Pay Period tab.
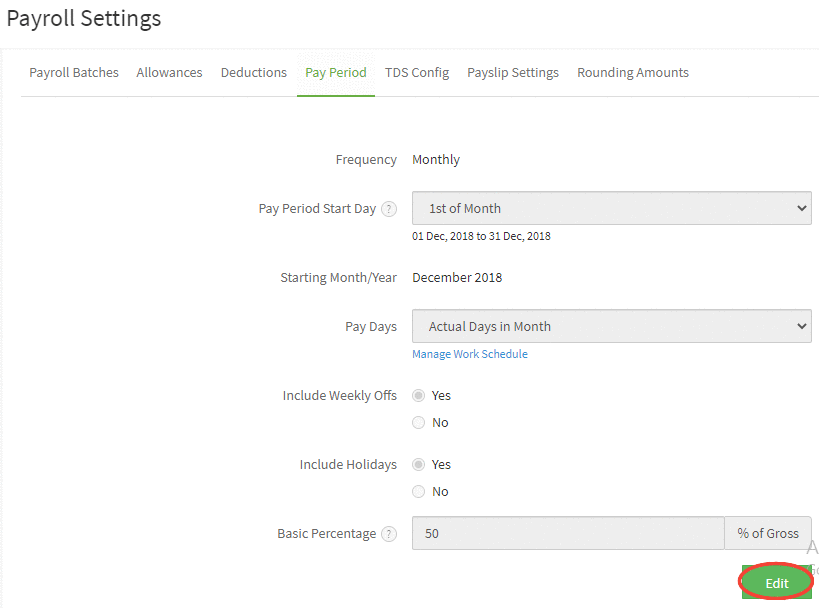
Step 2:
Click on the Edit button to modify the settings.
{primary} User cannot edit Pay Period settings when payroll is either In Process/ Draft / Submitted status. The option will be disabled when payroll is in process.
Step 3:
After clicking on Edit button, User can modify the Pay Days and click on the Save button to save the changes.
Step 4:
Upon clicking on the Save button, a popup message will appear on the screen prompting the user to confirm to proceed with the updates.
Step 5:
Click on the button to confirm. After clicking on the Save button, a message appears confirming the User that the Pay Period settings have been successfully updated.
Step 6:
Upon closing the popup, the Pay Period setting page will appear with the updated details.
TDS Config:
{primary} Under the TDS Config settings tab, the User can view the options that were opted for the TDS Config settings at the time of Account Setup.
If the User wants to change these TDS Calculation, he/she has to contact the Sumopayroll support.
Step 1:
Go to Payroll --> Payroll Settings-->TDS Config tab.

Step 2:
To update TDS Settings, user has to contact the Sumopayroll Support.
Payslip Settings:
Step 1:
Go to Payroll --> Payroll Settings-->Payslip Settings tab.
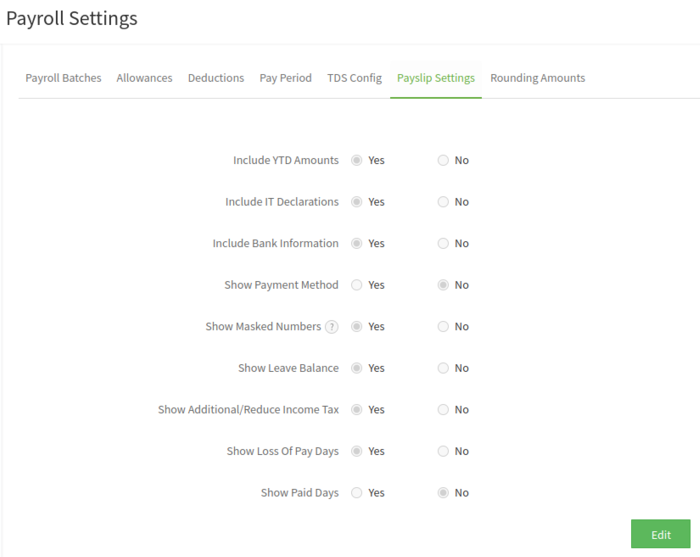
Step 2:
Click on the Edit button to change the settings. Upon clicking on the Edit button the Payslip components settings will be displayed in editable mode.

Step 3:
After selecting the desired options, click on the Save button to save the changes.
Rounding Amounts:
Step 1:
Go to Payroll --> Payroll Settings-->Rounding Amounts tab.

Step 2:
Click on the Edit button to change the settings. Upon clicking on the Edit button the rounding types will be displayed in editable mode.
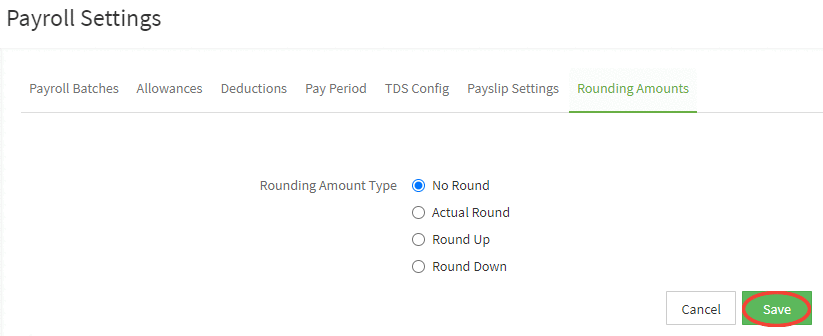
Step 3:
After selecting the desired rounding option, click on the Save button to save the changes.