
Advances/Loans
Step 1:
Go to Payroll→ Advances/Loans.
Step 2:
By Clicking on Advances/Loans, a Advances/Loans page will appear on the screen with a button New Advance/Loan and also you can able to see the Advances/Loans details of all the employees if any created.
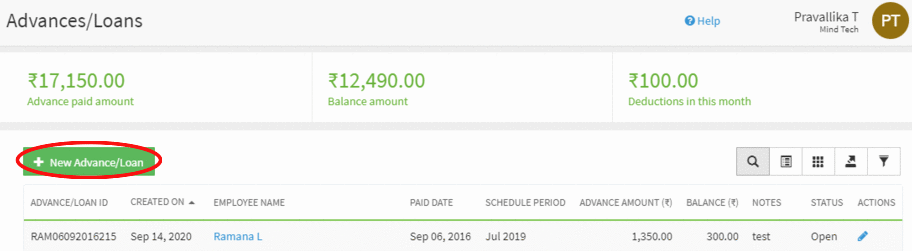
Step 3:
Click on the New Advance/Loan button to add an Advance/Loan for an employee.
Step 4:
Upon clicking on the button, a popup will appear on the screen to capture the details of the Advance/Loan like Employee Name, Amount, Paid Date, Schedule Period, Transaction No. and Payroll Deduction Amount etc.
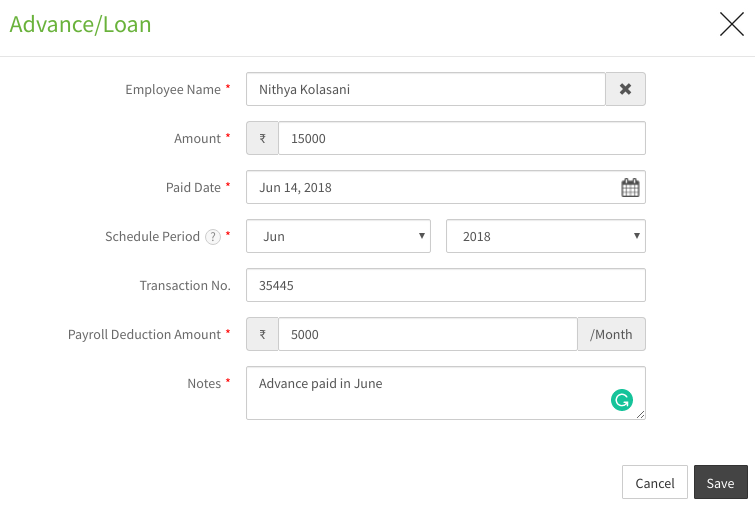
{primary} You can configure the amount to be deducted from the payroll for the Advance/Loan by specifying the amount for the Payroll Deduction Amount field. Or you can manually add the deduction amount.
Step 5:
Enter the details in the Advances/Loans popup and click on the Save button to save the details.
Step 6:
After clicking on the Save button, you will be prompted with a confirmation message and will be directed to the Advances/Loans page where you can view the details of the added Advance/Loan in the table.
Step 7:
You can view the complete details of the Advance/Loan by clicking on the Employee Name in the list.

Step 8:
You can manually add the deductions by clicking on the Add deduction button either in Advances/Loans tab or in Deductions tab.
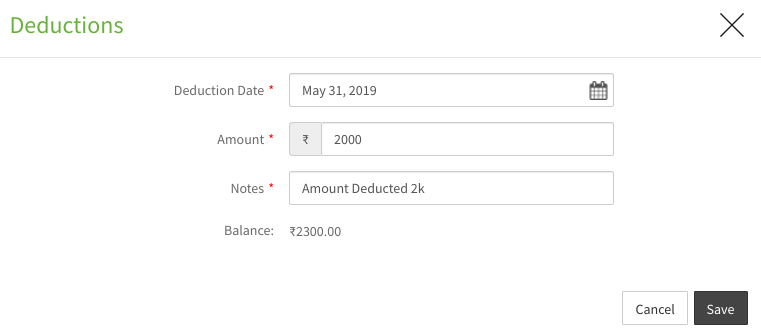
Step 9:
On clicking the Add Deduction button, a popup will appear on the screen to capture the details of the deduction like Deduction Date, Amount, Notes etc.
Step 10:
Enter the details in the deduction popup and click on the Save button to save the details.
Step 11:
After clicking on the Save button, you will be prompted with a confirmation message that the deduction is successfully added and will be directed to the Advances/Loans details page.