
Expense Payment
{info} Only users with appropriate route access to Expenses module can schedule the Expense payment. You need to approve the expense before scheduling for the payment.
Expense Payment can be done in two ways:
Step 1:
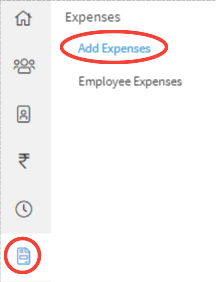
Go to Expenses→ Employee Expenses
Step 2:
On clicking on "Employee Expenses", you can view the Expenses list as shown.
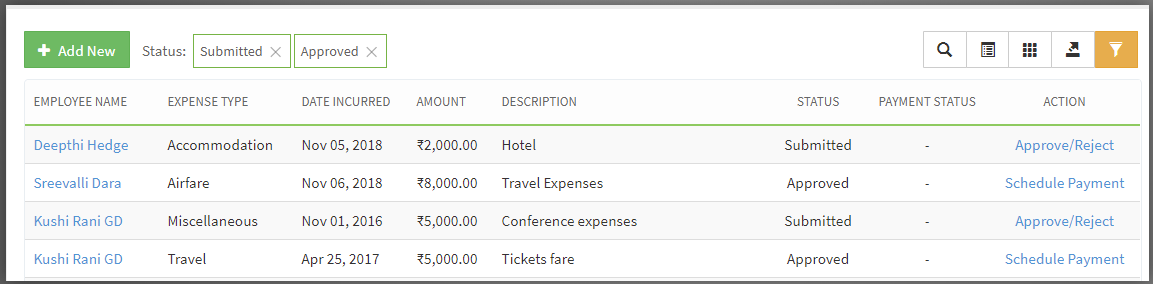
{primary} Note: You can schedule payment only for approved Expenses.
Step 3:
Choose an approved expense for which you want to schedule the payment by clicking on the schedule payment link in the table.
Step 4:
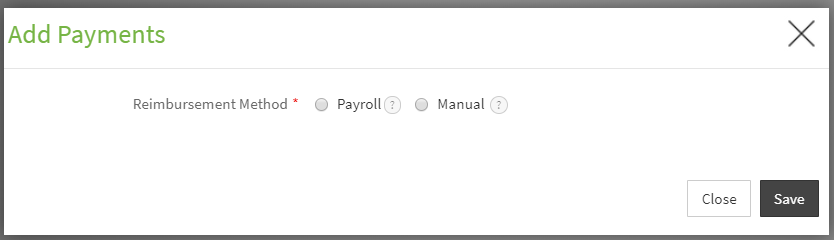
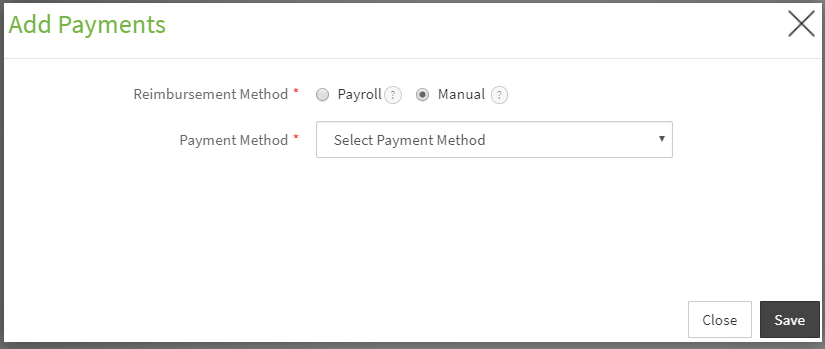
On clicking on the link, add payment popup will appear on the screen.
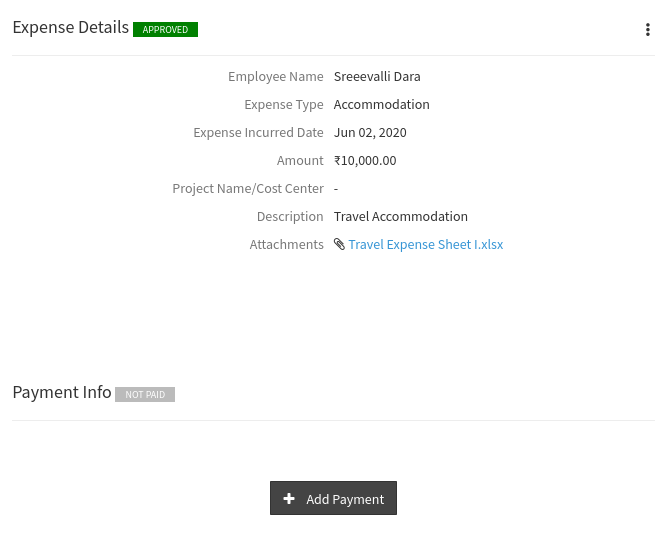
Alternatively, you can click on employee name in the expenses list which will redirect you to the expense details page, There you can click on "Add Payment" button in the Payment Info tile which will redirect to the add payment popup.
Manual Payment:
Step 1:
On selecting the option 'Manual' in the Add Payment popup , Payment Method drop-down will appear.
Step 2:
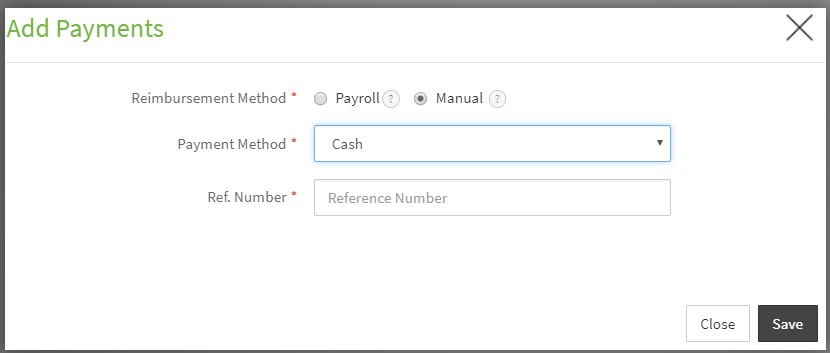
Choose one the payment method options from the 'Payment Method' drop-down list.
- If option 'Cash' is selected, a field will appear in the form to capture the Reference number of the payment receipt. Enter the number and click on the "save" button to proceed.
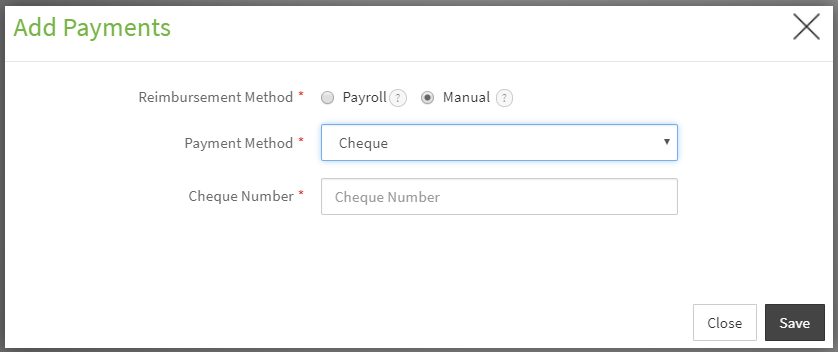
- If Option 'Cheque' is selected, a field will appear in the form to capture the cheque details. Enter the details and click on the "save" button to proceed.
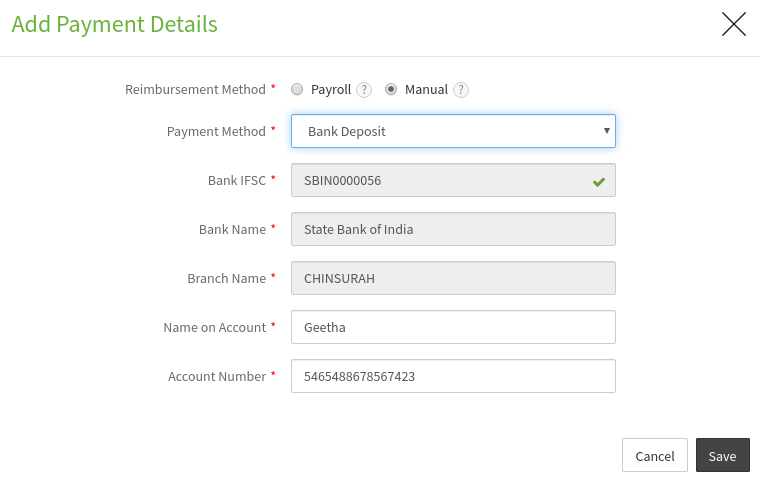
- If Option 'Bank Deposit' is selected, a set of fields will appear in the form to capture the details of the bank account like Bank IFSC, Bank Name, Branch Name, Name on the Account and Account Number. Enter the details and click on the "save" button to proceed.
{success} On clicking on the "save" button, a confirmation message appears prompting you that the expense details are updated successfully.
Payment via Payroll:
{primary} Note: Expenses will be added as allowance for the scheduled pay period.
Step 1:
On selecting the option 'Payroll', the 'Schedule Pay Period' field will appear in the popup.
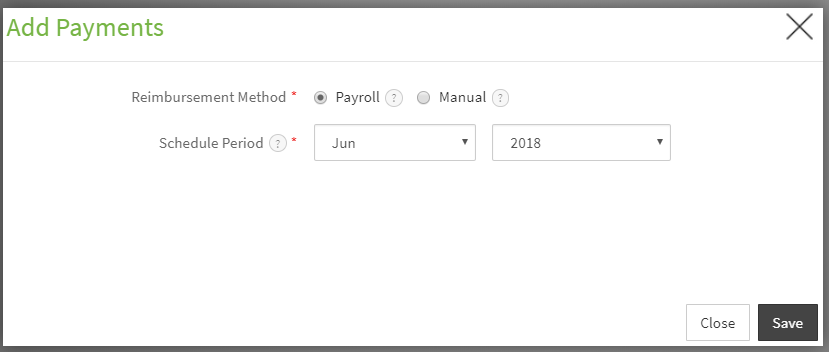
Step 2:
After choosing the pay period for which you want to schedule the expense payment, click on the save button.
{success} On clicking on the "save" button, a confirmation message appears prompting you that the expense details are updated successfully.