
Timesheet Settings
{primary} Under settings, you can configure your Company's Timesheet settings as per the organization's preference. By default you can configure timesheet settings in account setup after company signup.
Step 1:
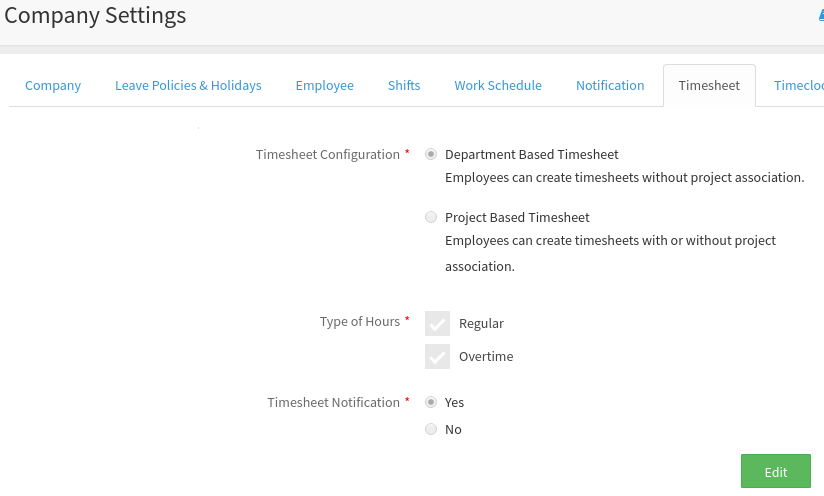
Go to Administration--> Company Settings--> Timesheet Tab. By clicking on the 'Timesheet' tab the timesheet settings details that were set previously will be displayed on the screen.
Step 2:
Click on the Edit button to make changes to the existing settings.
{primary} You can change the 'Timesheet Configuration' from 'Department Based Timesheet' to 'Project-Based Timesheet' or vice-versa, only when there are no timesheets for any employee.
Step 3:
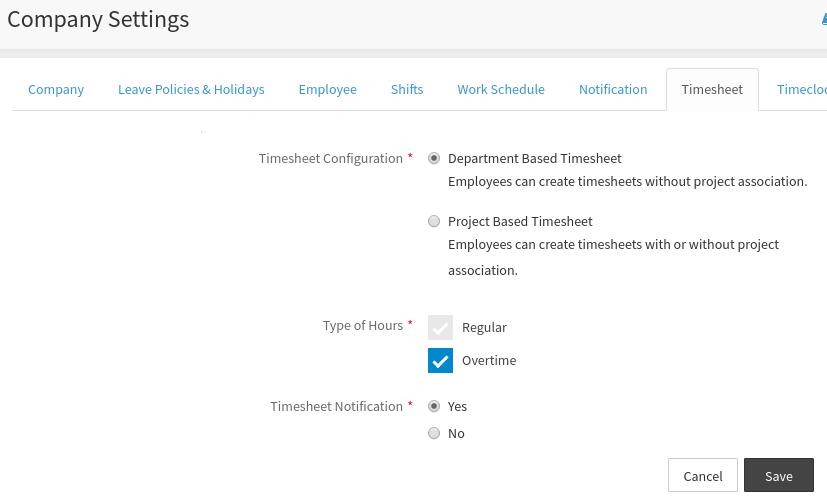
On clicking on the Edit button, the Timesheet setting details will be changed to the enabled mode and you can modify the settings as per your requirement.
Step 4:
You can choose to include the Overtime hours to be considered for calculating the payroll or not by checking or un-checking the 'Overtime' checkbox. After making the necessary changes click on the Save button to update the changes.
{info} Timesheet notifications will be sent to all employees/approvers by default. To disable this select 'No' radio button.
Step 5:
On clicking the Save button, a popup will appear prompting you to confirm to save the changes. Click on the Save button to confirm.
Step 6:
On clicking on the button a confirmation message will appear, prompting you that the timesheet settings are successfully updated. On closing the popup and you can view the updated timesheet setting details.